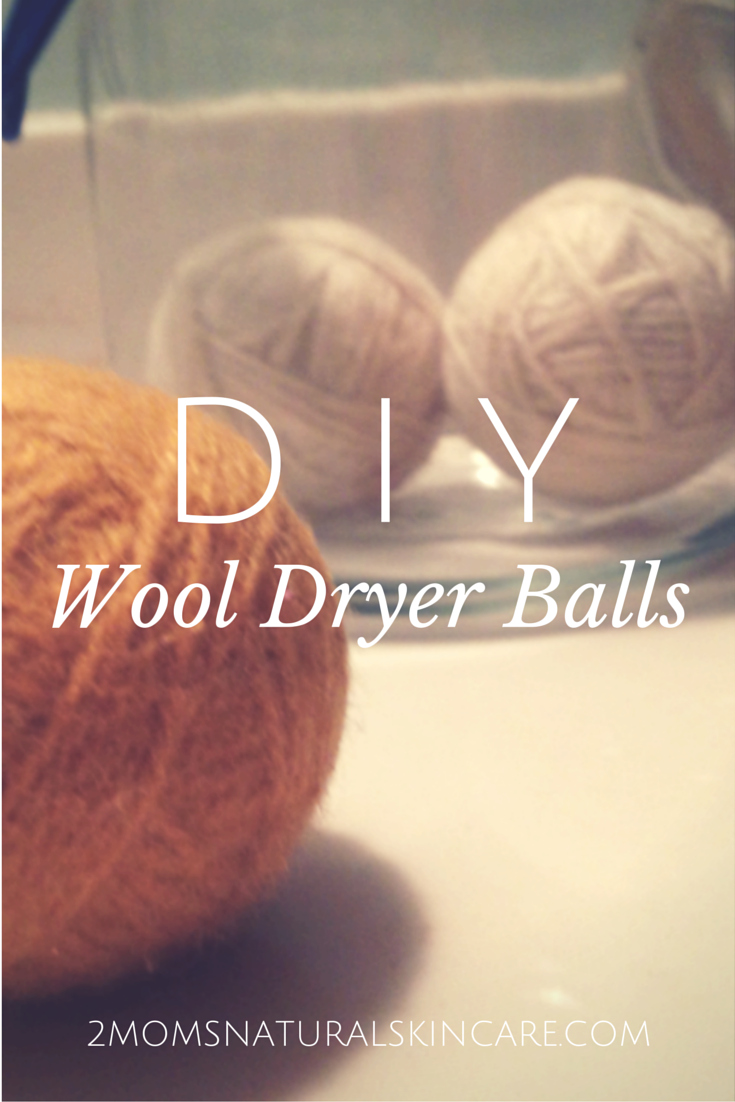
Okay, so wool dryer balls may be one of my favorite laundry & cleaning DIY’s ever! I love that they cut my drying time almost in half saving me $$ especially when drying cloth diapers (it can take FOREVER). They also soften my laundry while it is drying. Plus I find the process of making them super relaxing!
So what all do you need to get started making your own dryer balls?
Some wool yarn, make sure it is not superwash. I bought some seconds quality organic wool yarn from O-Wool (they only have 2nds up every once in a while so if you really want some just keep checking back) for $3 a skein and each skein made me 2 dryer balls for a total of 6. If you were to buy a set of 4 wool dryer balls from Eco Nuts it would run you $22.99 USD and they aren’t organic so I feel like making them myself is definitely worth it since you’d be saving about $19.48.
You’ll also need some pantyhose and a washer & dryer.
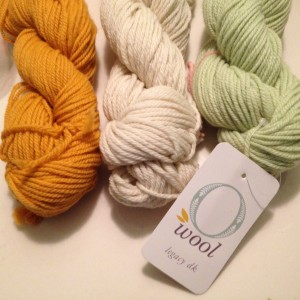
My beautifully colored organic wool yarn!

Here is why one of my yarns was seconds quality.
Instructions to Make Dryer Balls
Take your yarn and wrap it 15-20 times around 3 or 4 of your fingers like so. I only wrapped it around 2 fingers but it really makes it much easier if you wrap it around more.
Now wrap the yarn around the middle of what you just made to make it look kind of like a like a bow.
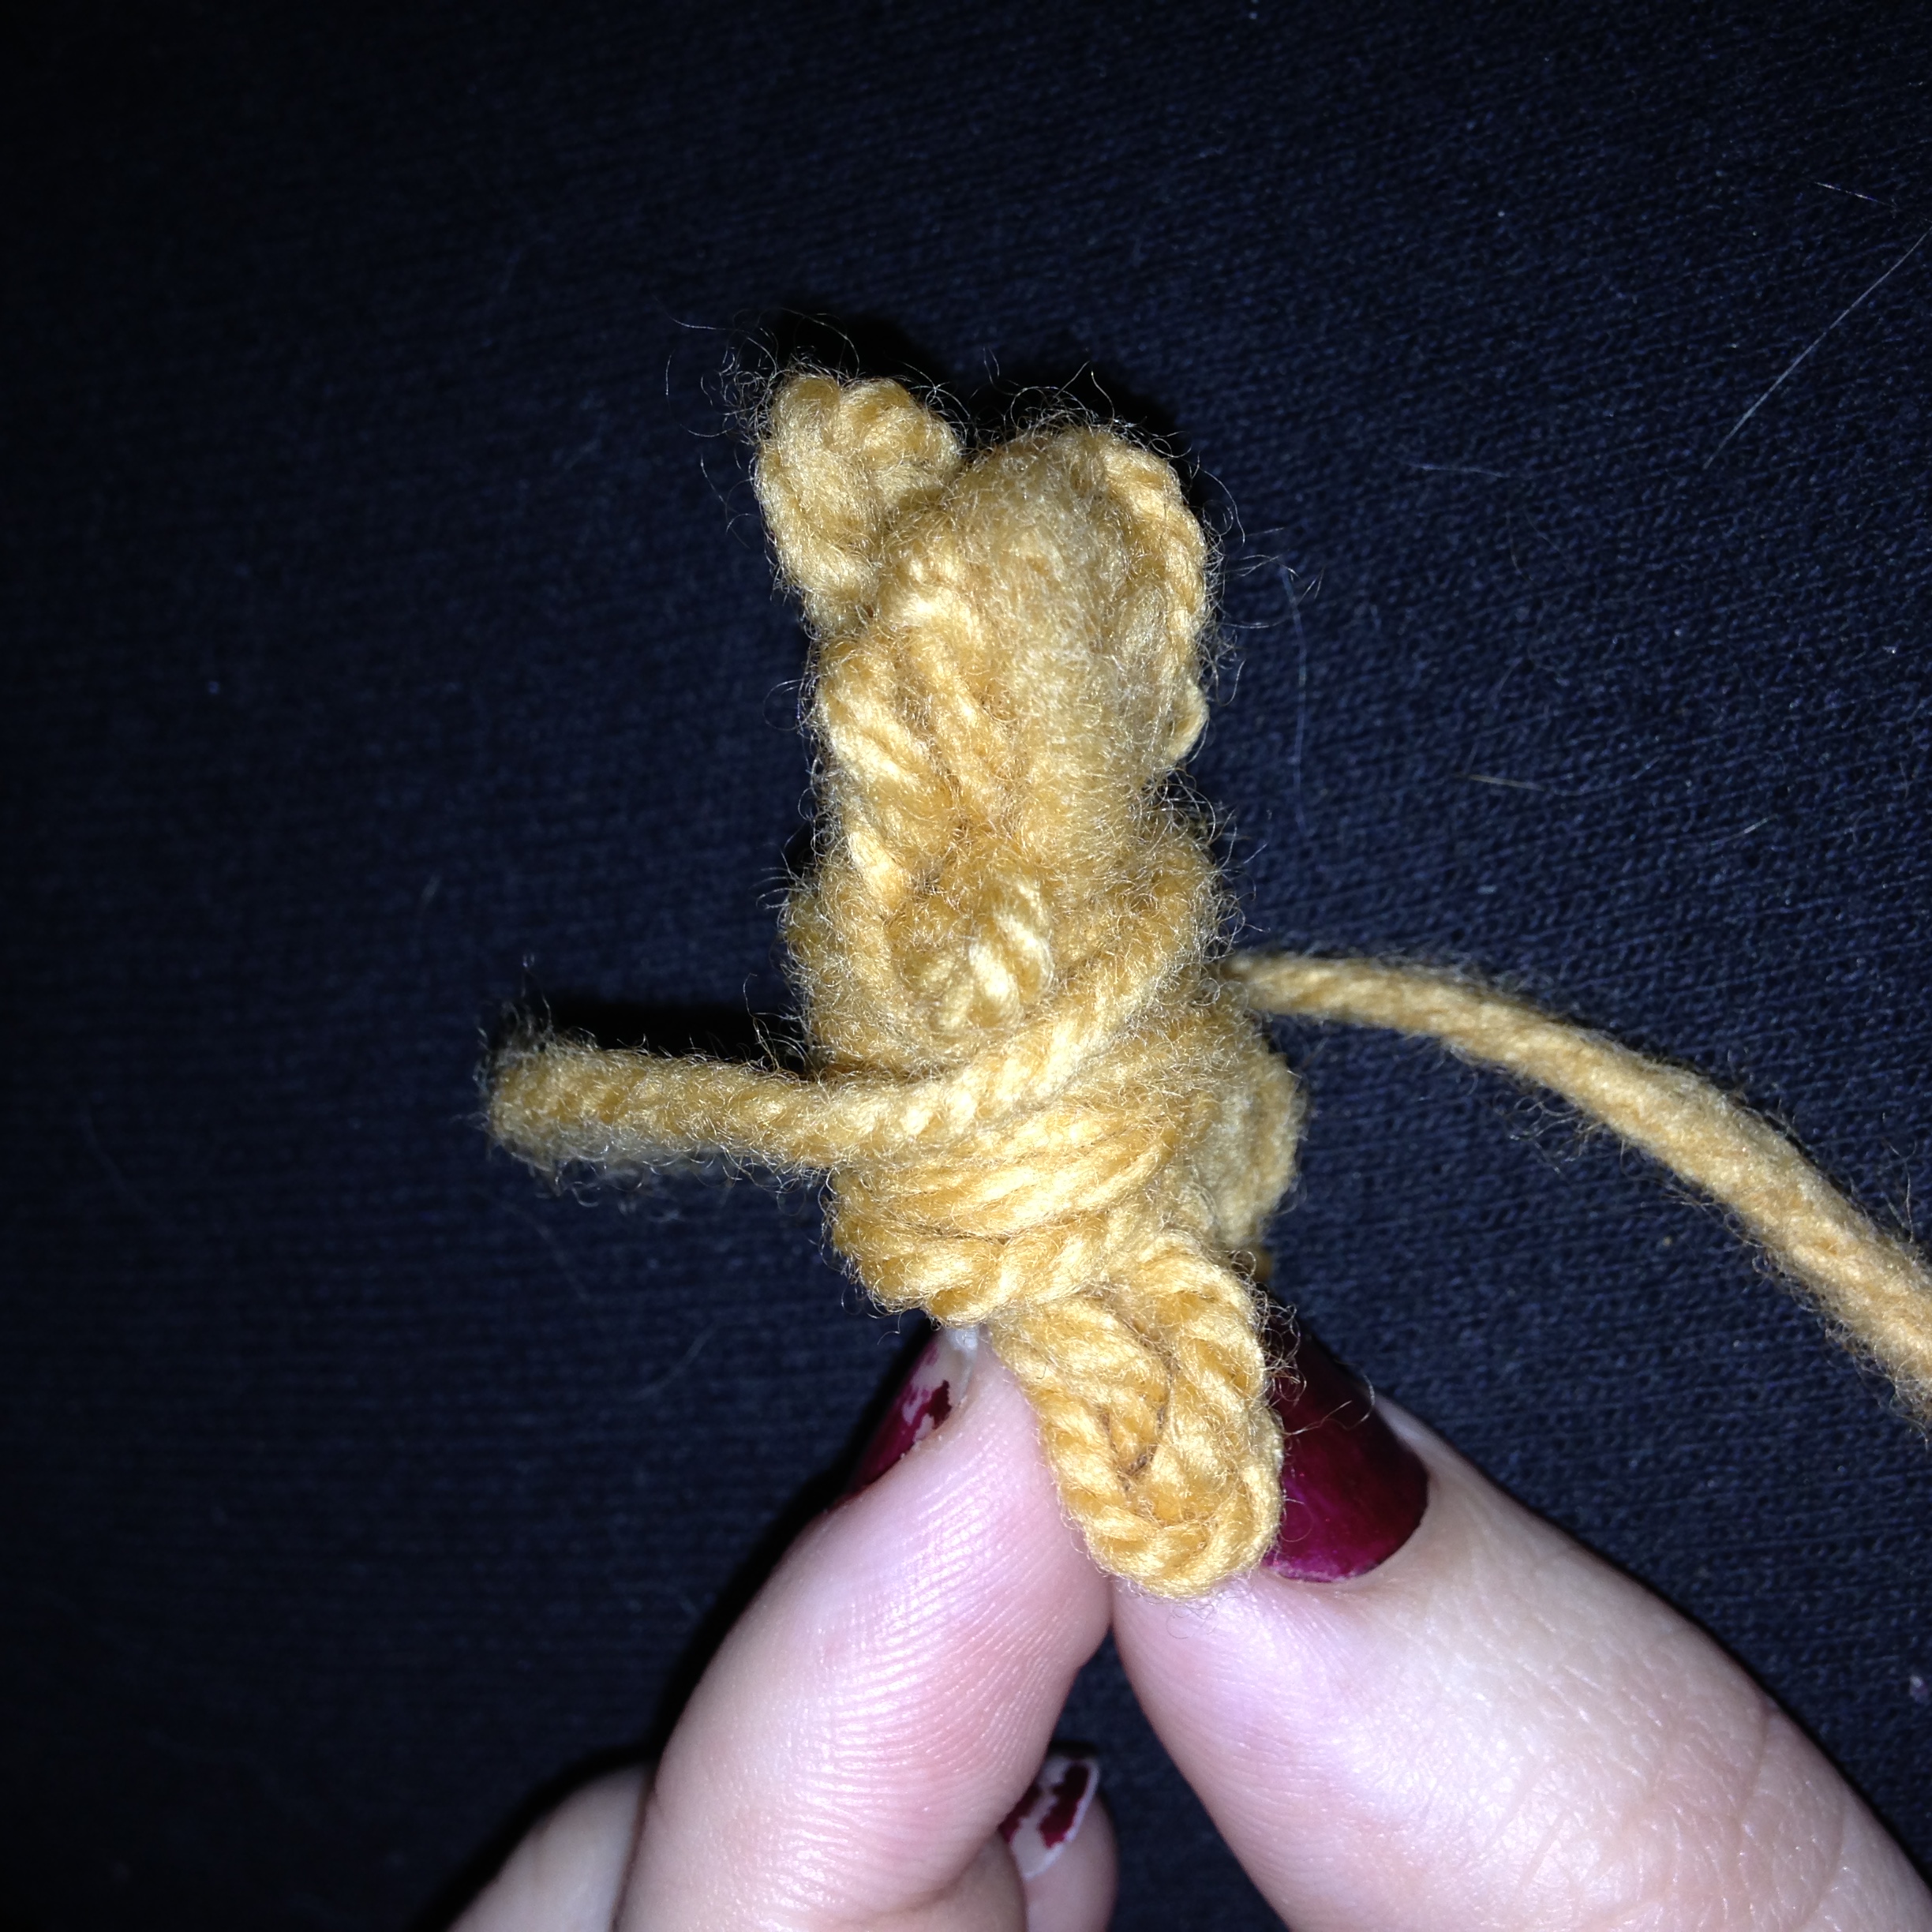
Pinch the “bow” in half and begin to wrap your yarn around it making sure to change direction to make a nice even shaped ball and keep wrapping until the ball is about the size of a tennis ball. Be sure and leave a good 6 inches of yarn to secure your ball.
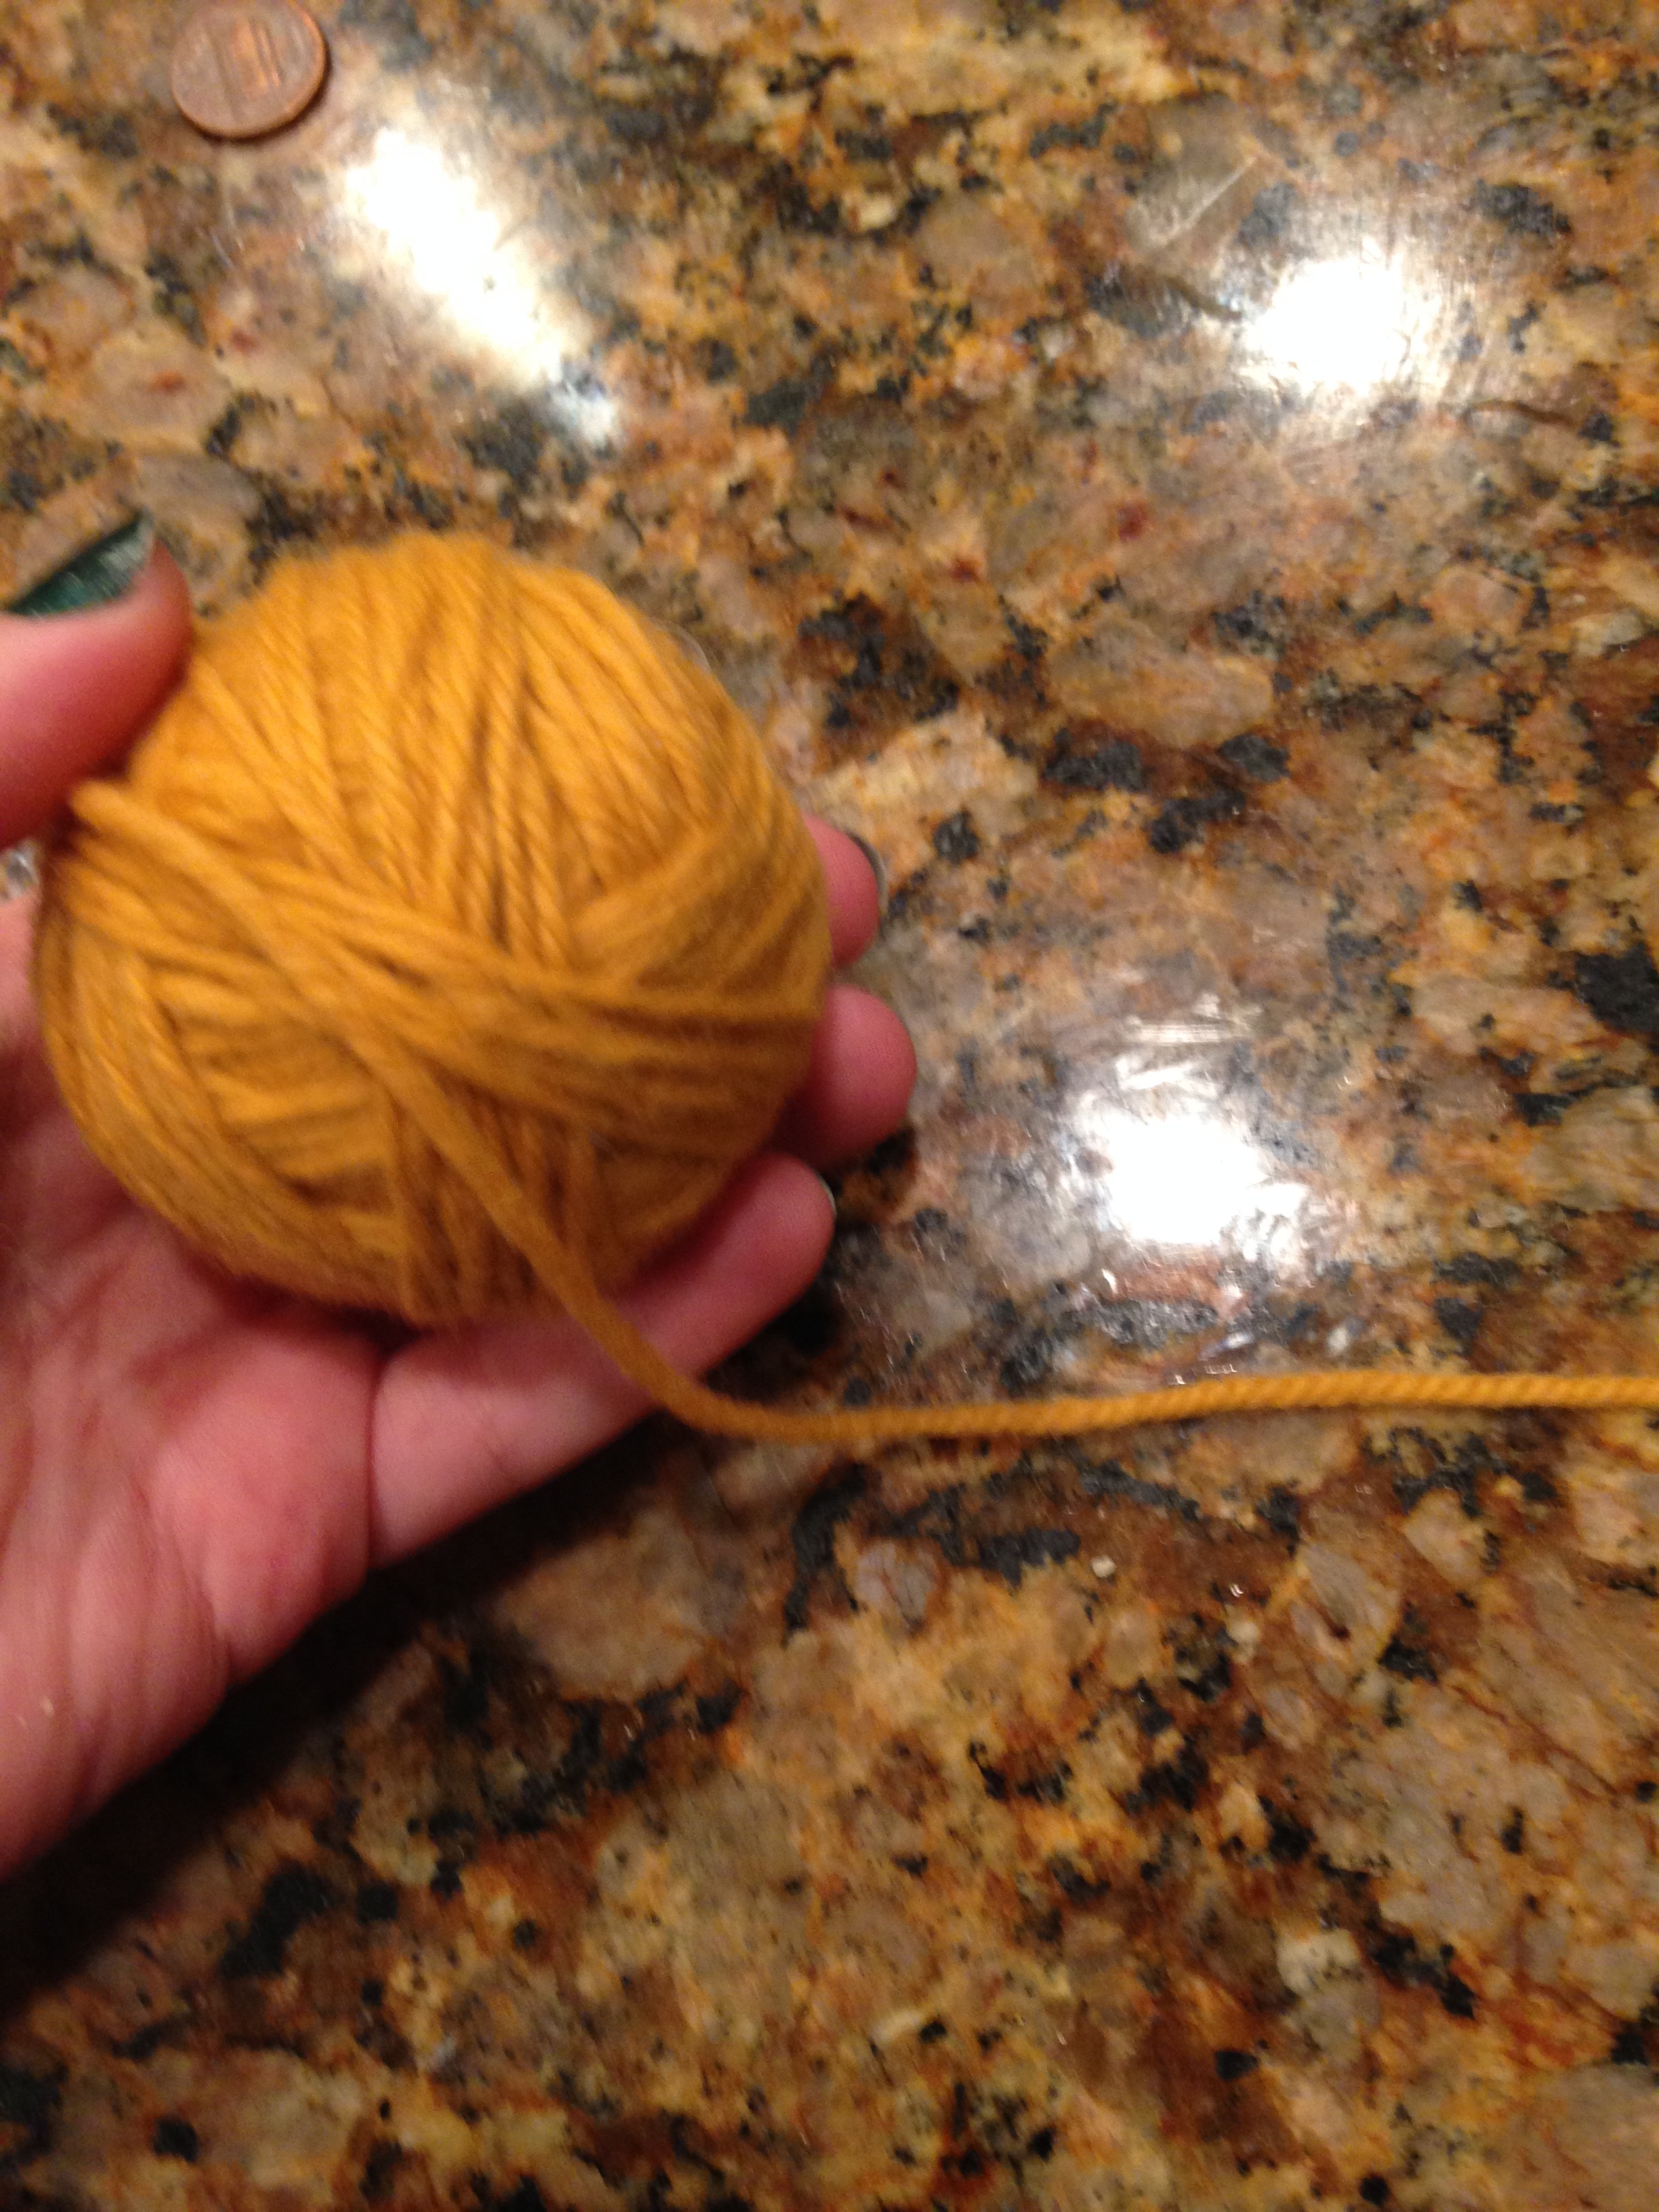
Next either a crochet hook or yarn needle will come in handy to weave the yarn tail through the ball in order to secure it so it does not unravel during the felting process.

Now throw 3 or 4 of you balls into a stocking/pantyhose and either knot off each one or use a bit of leftover yarn to separate each ball like so. For some reason the balls like this remind of those old wood snake toys, does it remind any of ya’ll of those too, or am I just crazy?
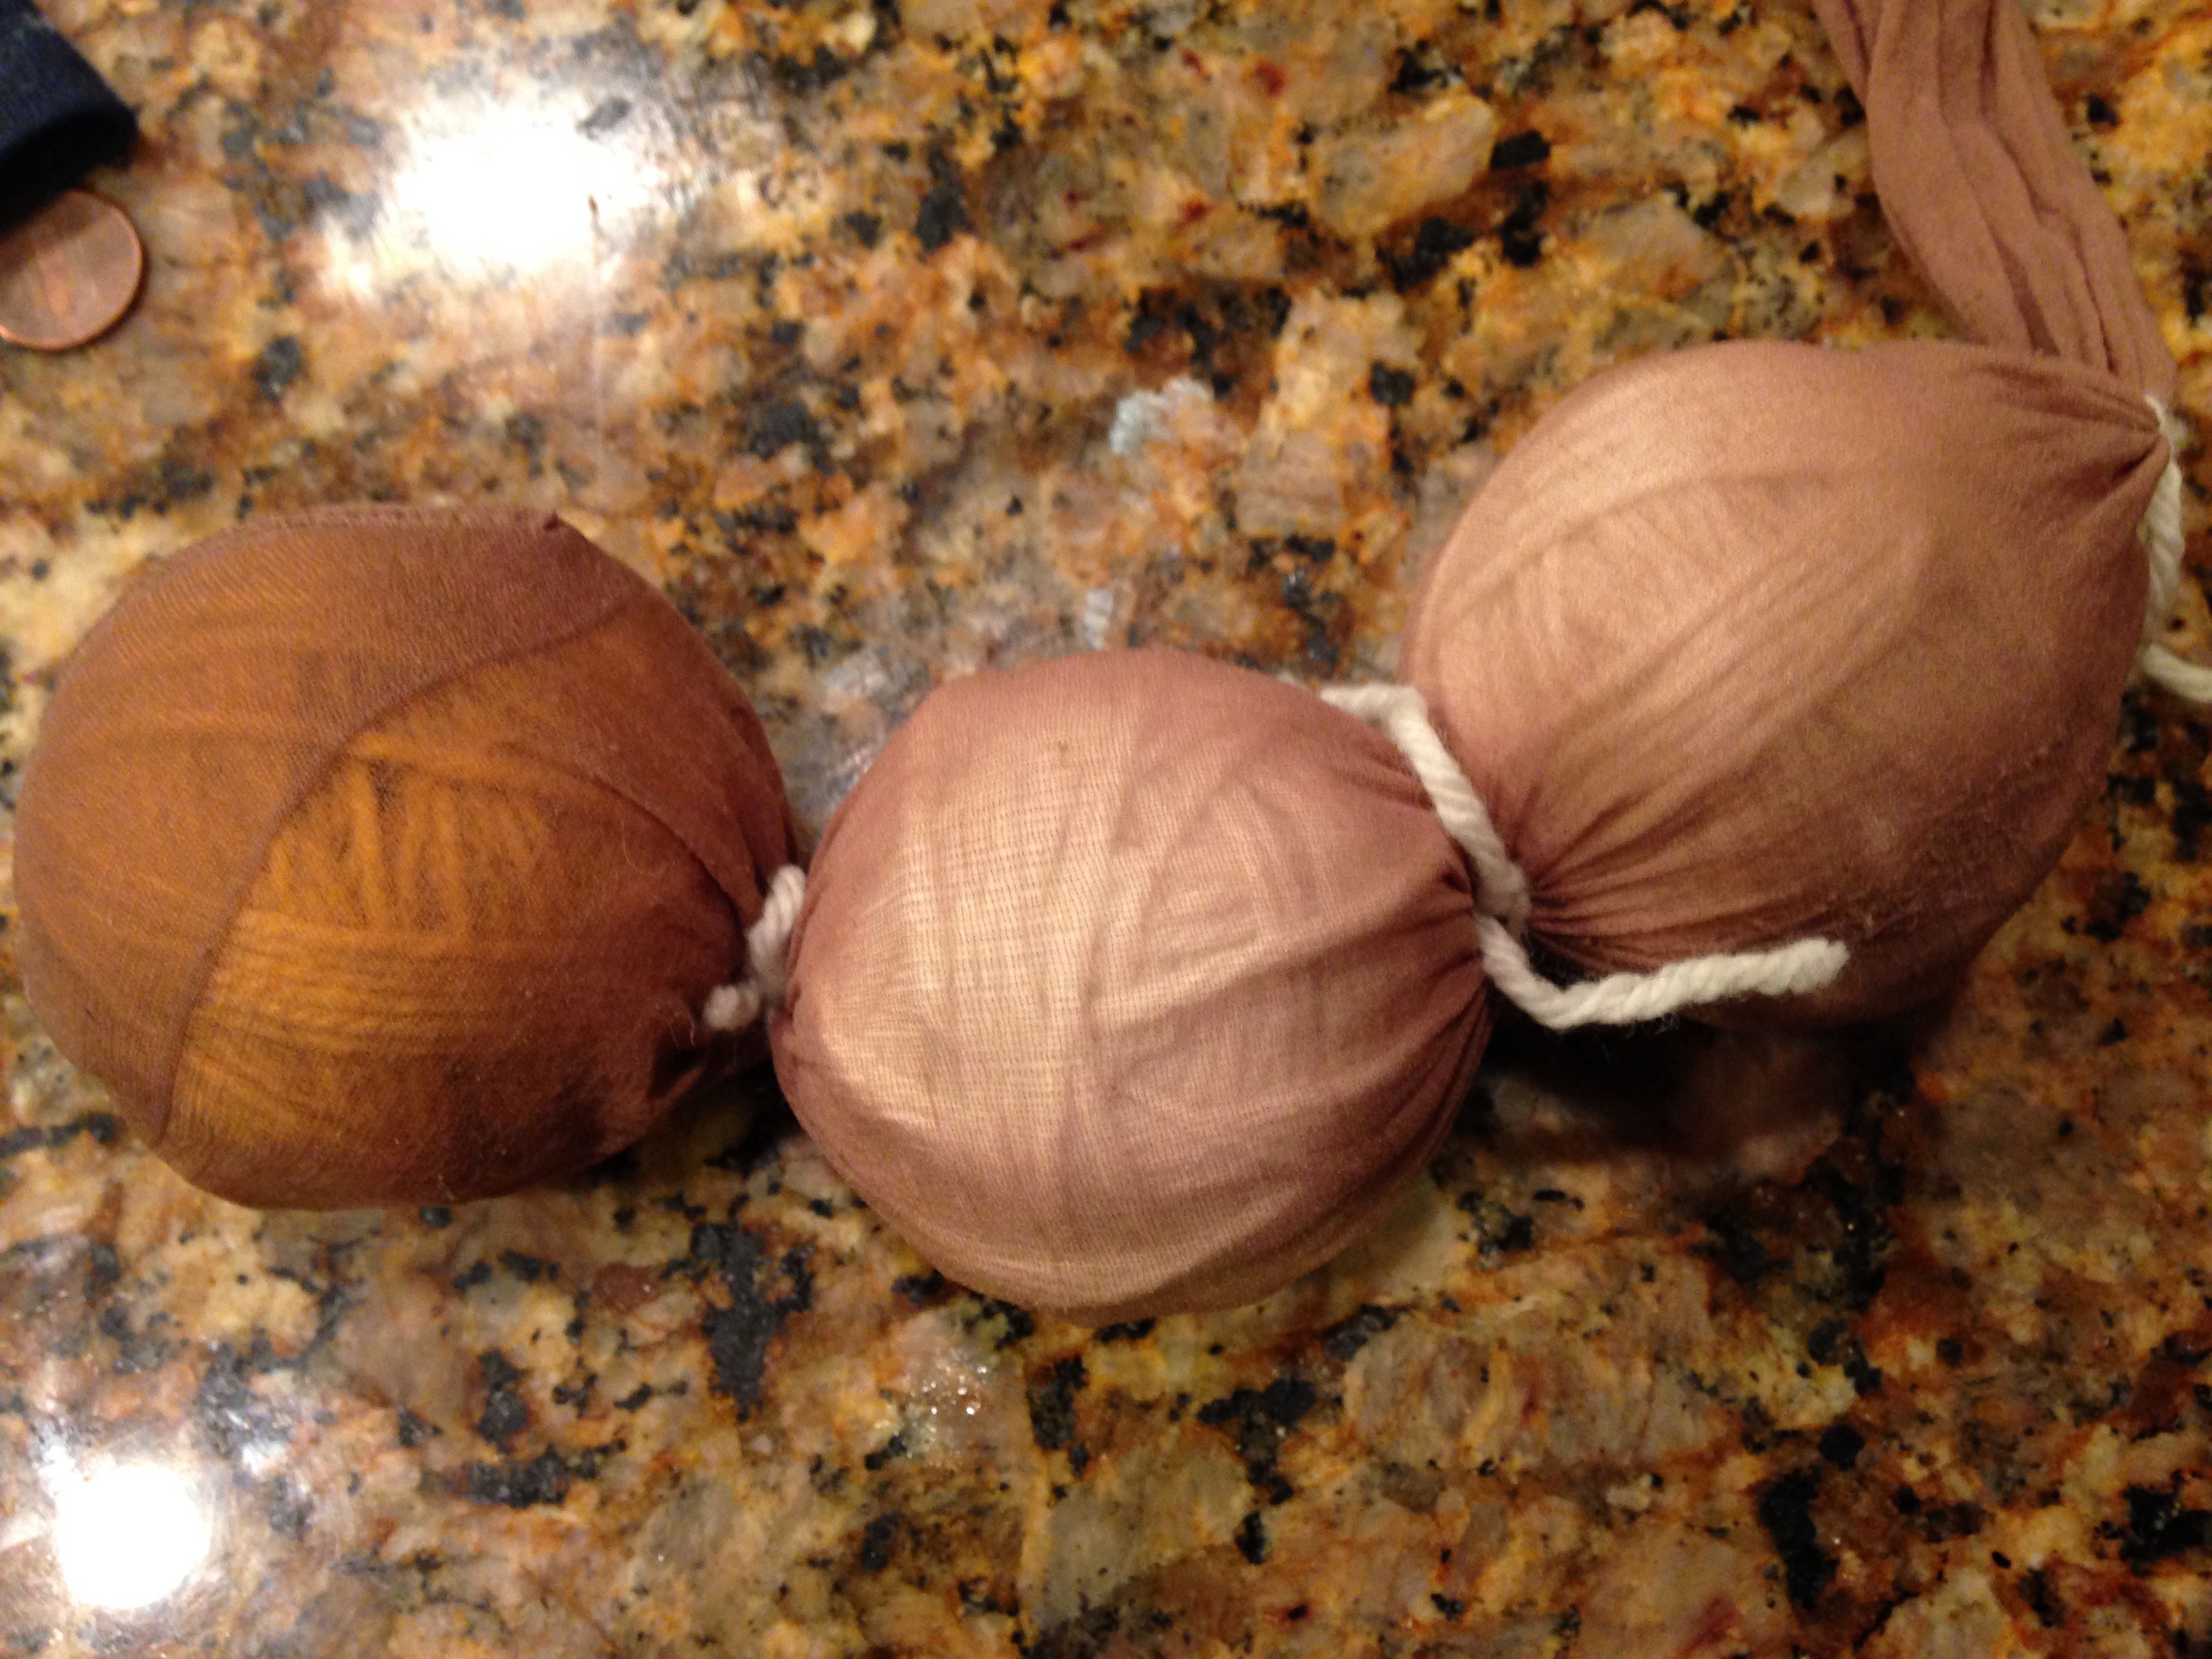
Now it is time to throw your snake chain of balls into the wash. I put mine in with a load of towels and wash on high since hot water is part of what really helps the felting process. Then throw it all into the dryer and let dry. Repeat this process 3-4 times or until balls are well felted.
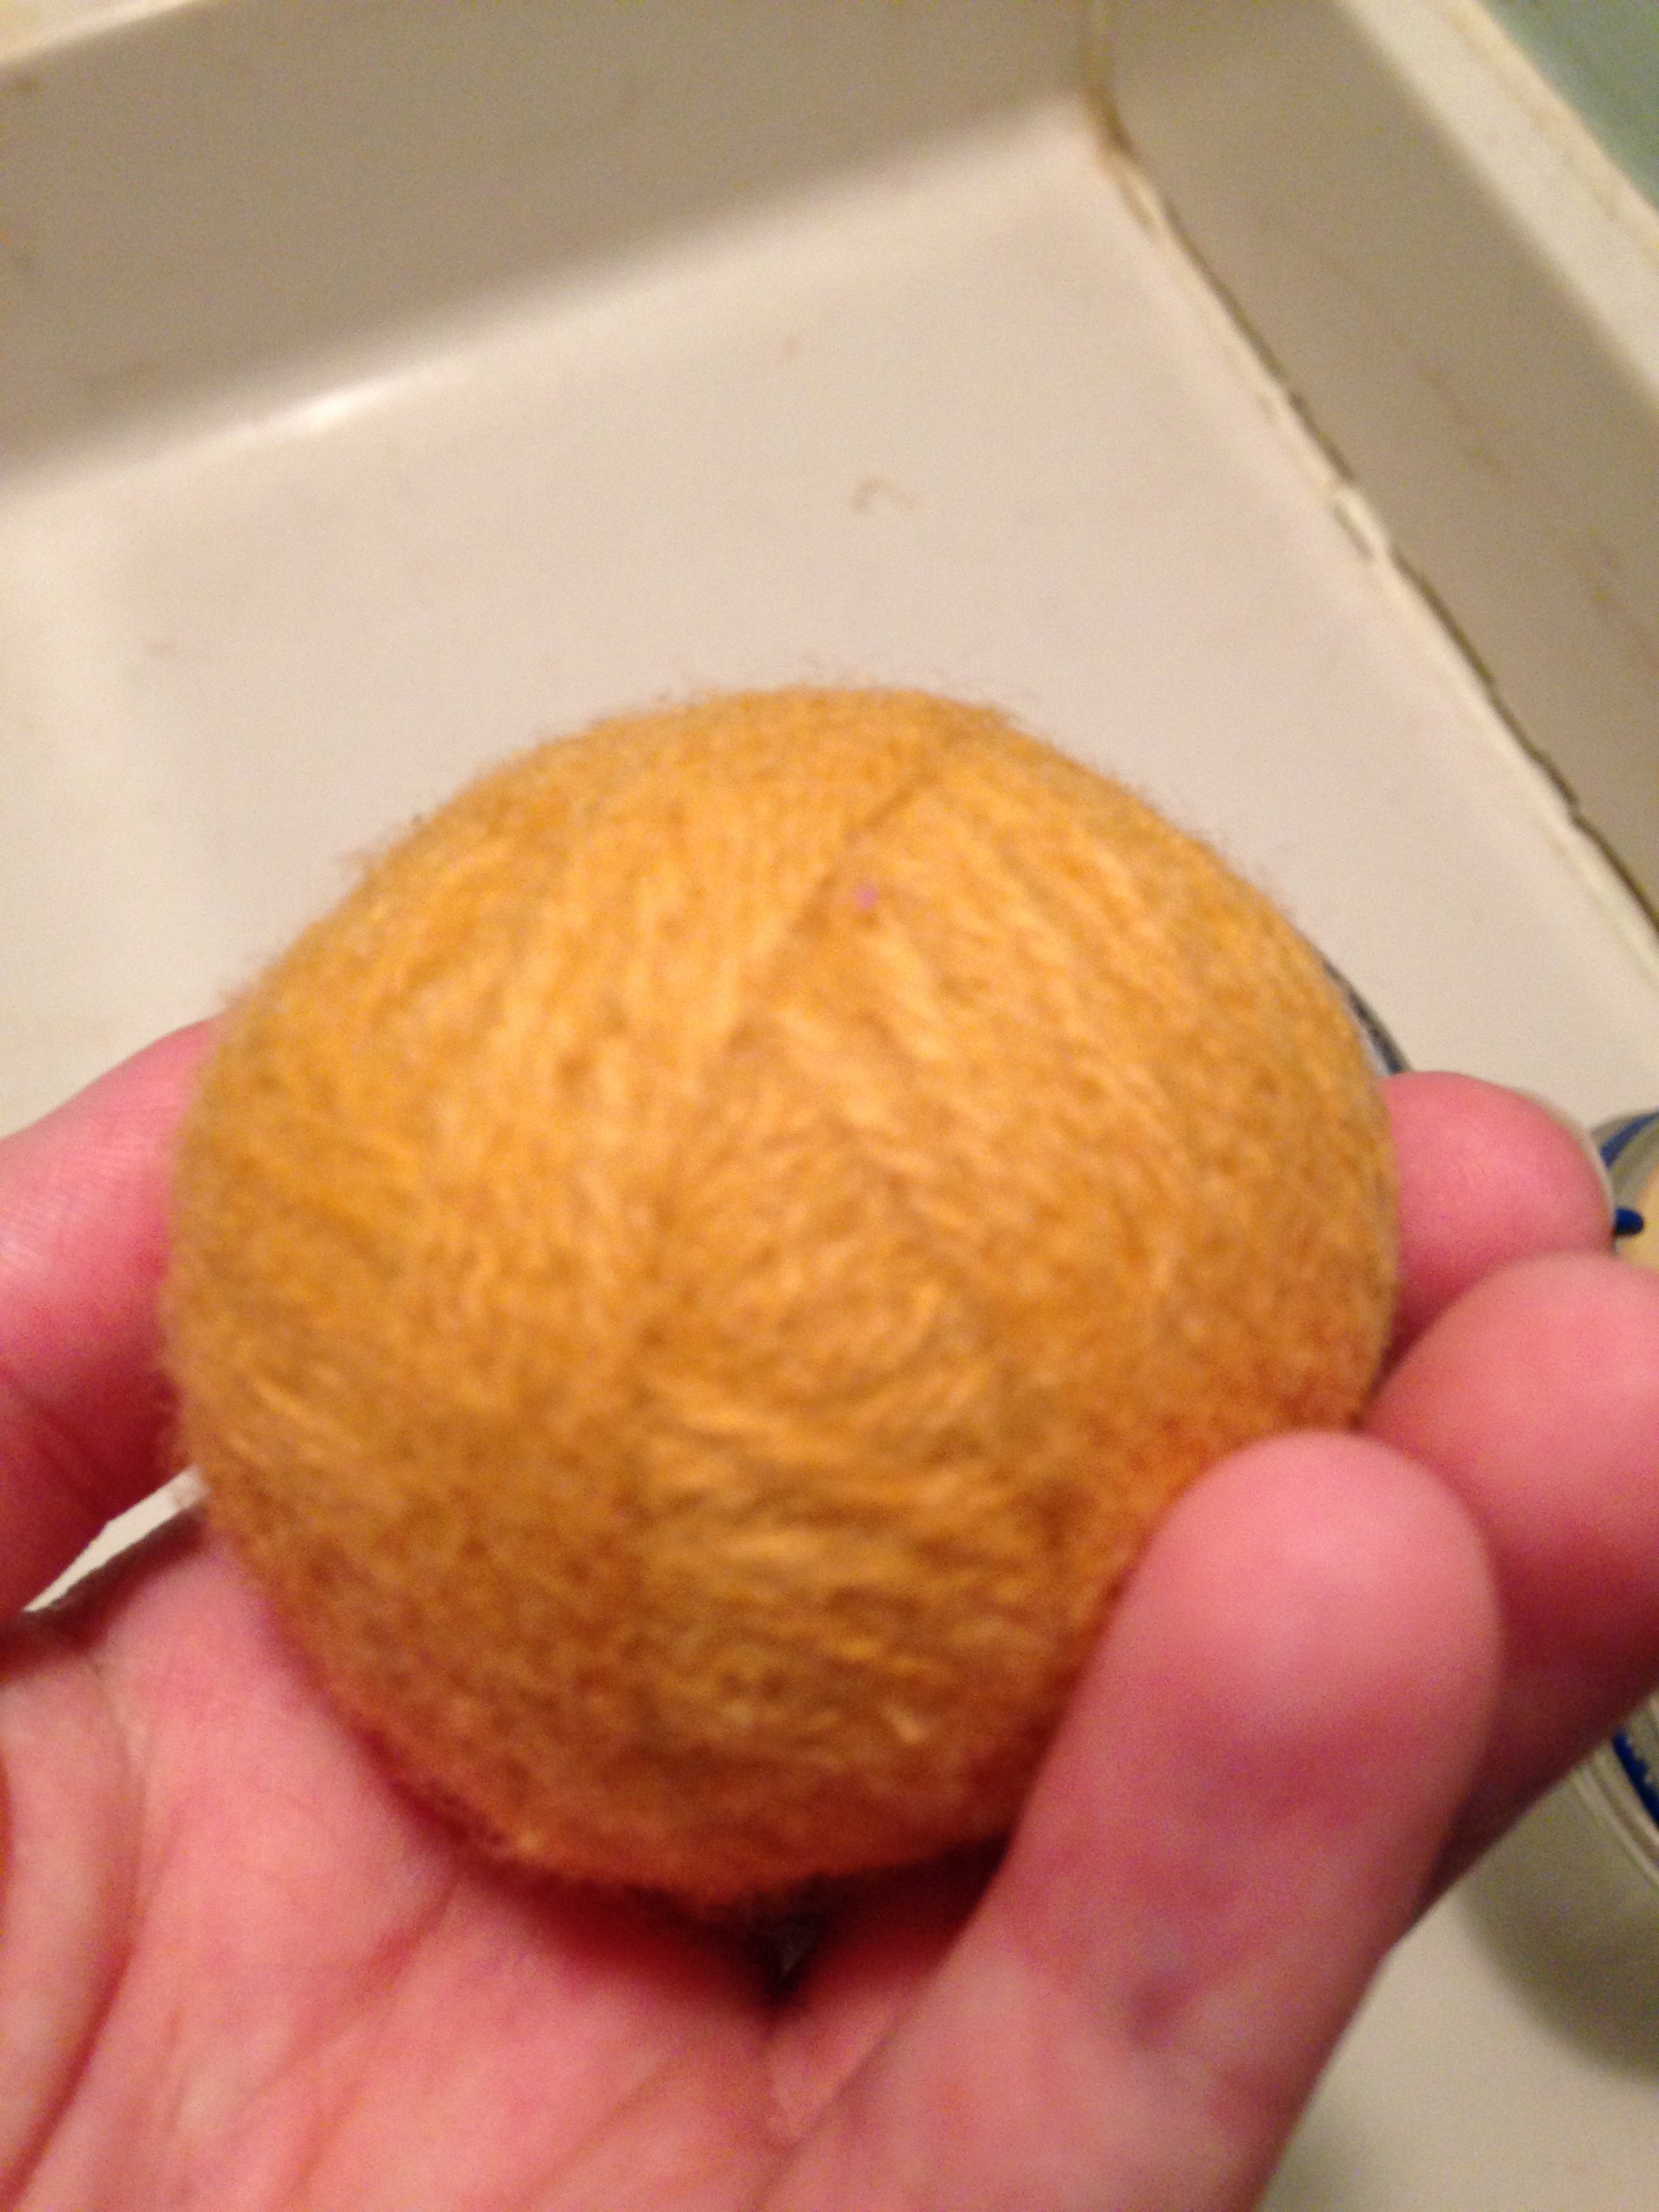
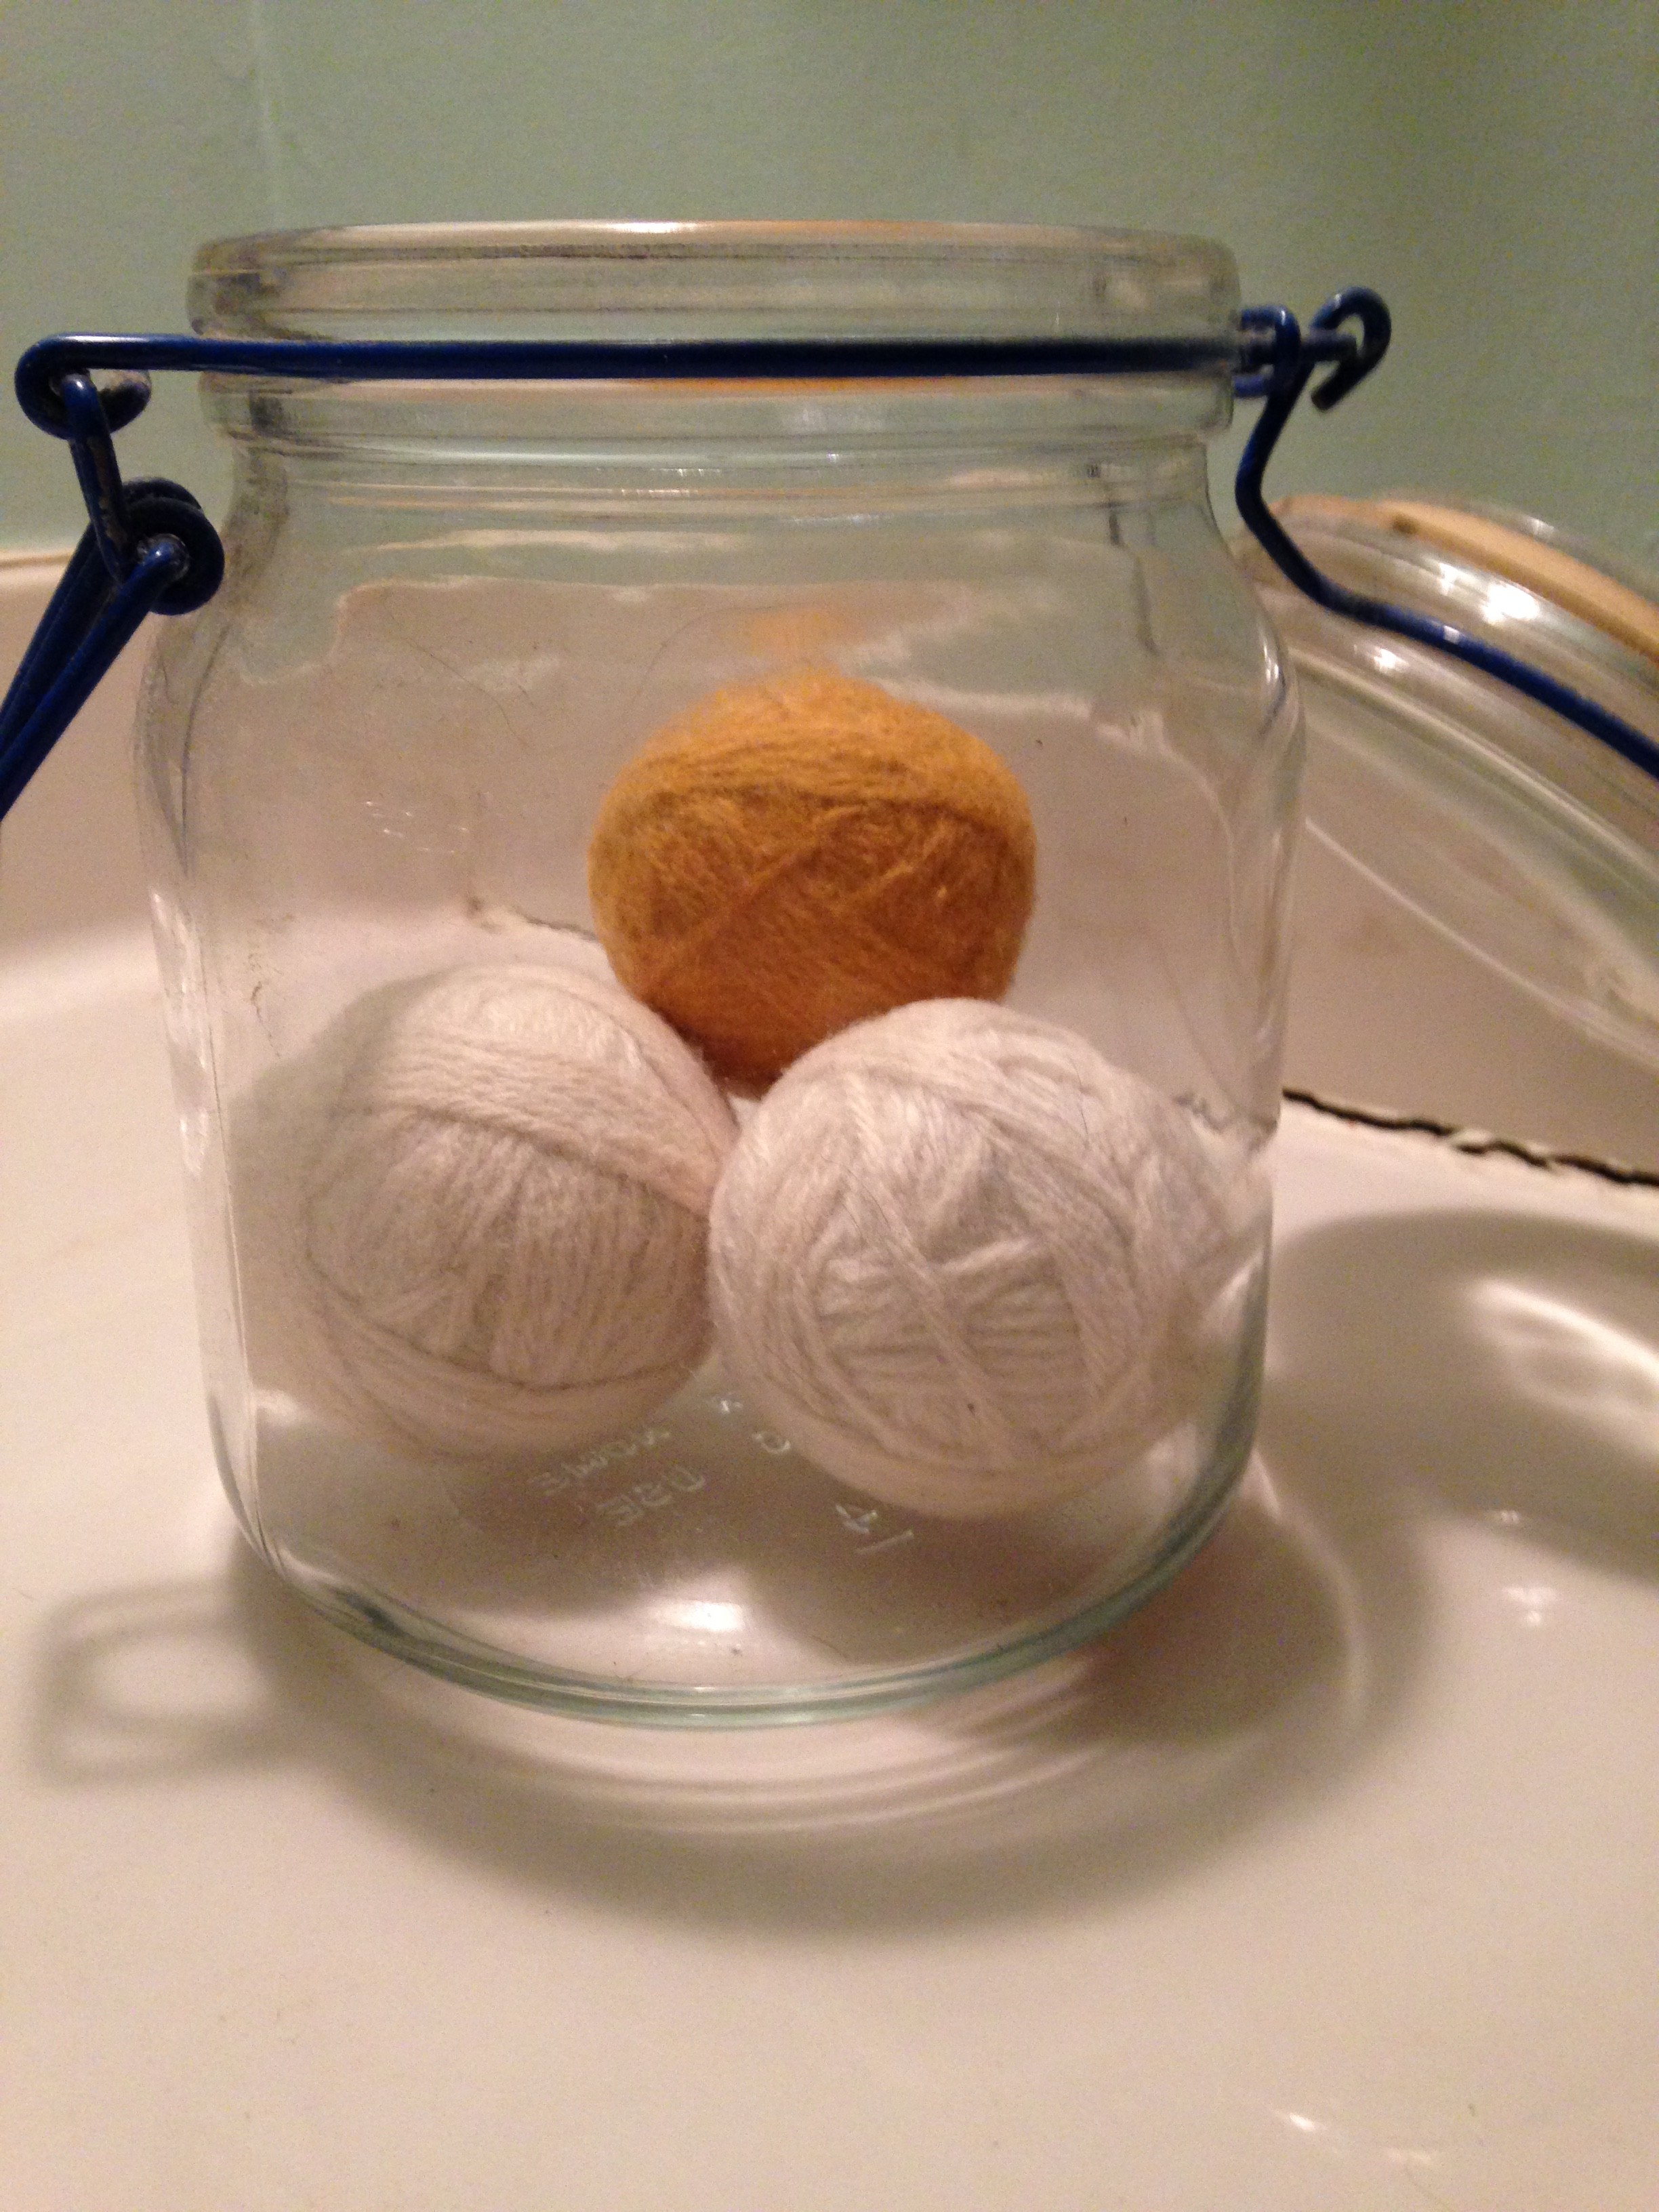
This is what your finished dryer balls should look like all the strands of yarn should be melded/felted together so that they do not move on their own.
I have an HE washer and had a hard time felting my balls properly, this is because you really need a good amount of soap and agitation to help with the felting process. What I ended up doing was taking my boar bristle brush and lightly brushing the surface of the balls to form a soft halo of fuzz then re-did the felting process and my balls came out just great!
I like to keep my dryer balls in airtight container because I usually add a couple of drops of essential oils to each ball to make my clothes and other laundry smell pretty. Lavender, Peppermint, Joy, and Valor are my favorite oils and blends to use on my laundry.