 So we had a bunch of snow here a few weeks ago and I was stuck in the house for the week with my husband and babies. I decided that since he was going to be home, I could take a day and treat myself while he watched the kids.
I know a few people who have been able to afford their own home spa equipment and have got a good home warranty plan to help cover them if any of their equipment were to go wrong (view here to find out more). This makes them use the equipment to the fullest and allows them to have deep relaxation after a hard day. For example, having an electronic massager can come in handy after a long and tiring day. Similarly, for people who often pamper their feet, having a foot cleaner Brush at their disposal can be beneficial in exfoliating and scrubbing out the dead skin. Although, if you’re like me here are a few tips for having a relaxing spa day without the equipment.
I started off with a nice hot oil hair treatment.
After that I did a great facial steam using essential oils.
To do this I boiled enough water to fill a medium sized mixing bowl. I added about 3 drops of lavender essential oil and 3 drops of tea tree or melaleuca oil. I set the bowl on my kitchen table and sat down holding my head about 12 inches away from the bowl. I draped a towel over both my head and the bowl and sat there for about 5 minutes letting the steam do its thing. Afterwards I washed of my face because doing a facial steam loosens up dirt and helps open up clogged pores.
Now that my face was all squeaky clean it was time to exfoliate. There are two awesome and cheap ways to exfoliate at home.
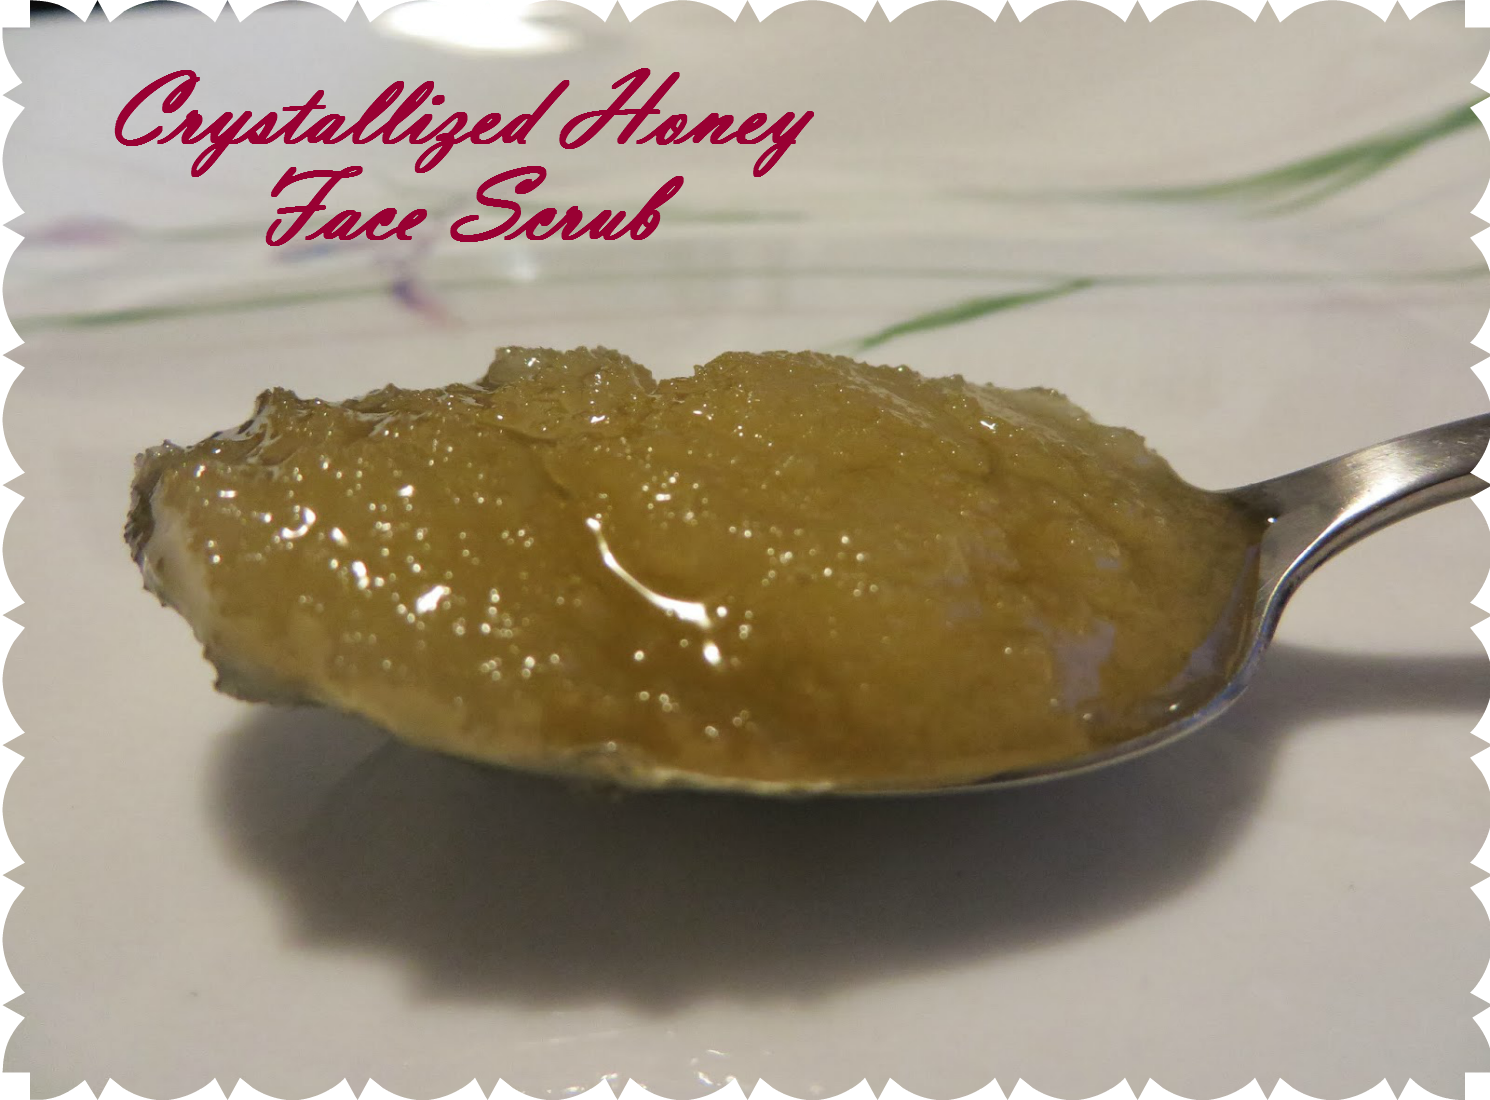
- Get a jar of raw honey and let it sit for awhile and crystallize. Get a spoonful of this it use it on your face as an exfoliation scrub. (Sometimes you have to add just a teeny, tiny bit of water on your hands to get it to spread well.) This method is great for those who are acne prone.
- Grab some sugar, or salt. About 1/4 of a cup or less. Then add a little bit of oil, I like olive oil or coconut oil, but you can use pretty much whatever you want. Add oil to your salt or sugar until it forms a thin paste. Then use this to exfoliate.
Next on my at home spa day is a nice french manicure and pedicure.
So here is what you will need.
- Nail Polish of Choice
- Nail Polish Remover (if necessary)
- Nail File
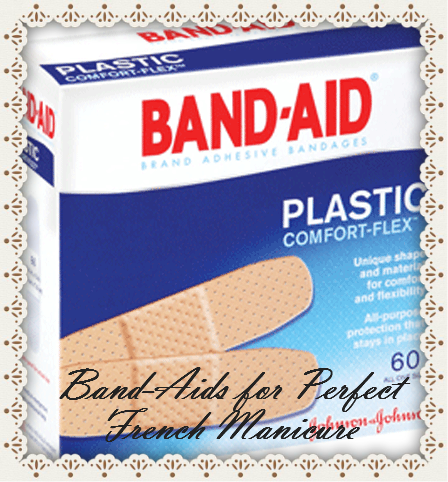
- Regular old band-aids (for french manicure)
- Vinegar (apple cider or white is fine)
- Lavender Essential Oil (optional)
- Some kind of tub/basin for soaking
- Towel (to dry hands and feet when necessary)
- Foot file
- Bowl of ice water
Steps:
- Lets get our basin set up to soak our hands and feet in (hands first of course). Add water as hot as you can stand it to the basin and add 1/4 cup of vinegar and 2-3 drops lavender EO as well.
- If you have any nail polish go ahead and remove it now, then soak your hands in the water for 15 seconds, this gets rid of any oils left on your hands and helps soften your skin.
- Next place your basin on the ground and let your feet soak while you do your nails.
- Now it’s time to paint you nails I will explain how I get a nice french manicure. If you are not going to do this then skip down to step # 11.
- Apply your base coat and let dry, then apply your main nail color let dry.
- Now take a band-aid peel off one side of the paper on it and place on your palm and remove, this helps get rid of alot of the sticky so it does not pull up your other nail polish.
- Place band-aid on finger nail to create the french nail look and paint.
- Remove band-aid and apply to next nail. You can use one side of the band-aid until it loses it’s stick then move on to the next. I use 2 band-aids total for all of my nails. You could also put half a band-aid on each nail and you 5 band-aids total (I just personally find this wasteful). Let dry.
- Apply top-coat.
- Now stick your fingers in that bowl of ice water for 30 seconds or so. This helps your polish set up and dry much faster.
- Now that your finger nails are done lets move on to your feet. Take them out of the water and dry them off using the towel.
- Use the foot file gently to take off a thin layer of the dead skin on the bottom of your feet, do not get overzealous with this because you can over file and make your feet bleed. Swish them off in the water then dry again. This is one of the best home remedies for soft feet but be careful when filing the dead skin.
- Now it’s time to paint, use the same process that you did for your nails. You may have to use a larger size band-aid for your big-toe.
- You can stick your toes in ice-water for 30 seconds if you want but I generally don’t because I find my toe-nails set up faster already and I rarely mess them up just walking around at home.
- Now apply a nice creamy body butter to your feet. You can get on from our store or have one made custom for you.


Interesting tip on the crystallized honey! I wouldn’t have thought of that. How cool, I love natural beauty tips like these 🙂
So glad you like the tip!
I found out about it on accident. I normally use honey as part of my daily skin care routine and had some that I did not use in time. I went ahead an washed my face anyways and it did a great job exfoliating.
-K
Comments are closed.