
I love, love, love, loooooove candles! I always have and always will. I’m pretty sure my love for them came from my super awesome step-mom who always had at least one candle burning…in every room. They made the whole house smell amazing! Every time I see a candle now I think of this wonderful woman who taught me so much and was such a huge part of my life….if you are reading this Mrs. D, I love you more than you’ll ever know, even though we don’t talk much anymore I think of you all the time!
Anyways, candles just always make a house feel homey and welcoming to me. Yet recently I have become more and more aware of the toxins all around us and in candles.
Candles are a huge source of indoor air pollution. Did you know paraffin candles release toxic carcinogenic soot, with benzene and toluene, when burned? I don’t know about you, but I’d rather not inhale lovely smelling lung cancer. Some wicks are even made with heavy metal cores that when burned can be absorbed into your body and blood stream. I am just briefly touching on some of the reasons why paraffin candles are not so good for us, if you want Wellness Mama has an awesome post on why they are not good.
So on with the DIY Candle instructions!
Get all the materials you need:
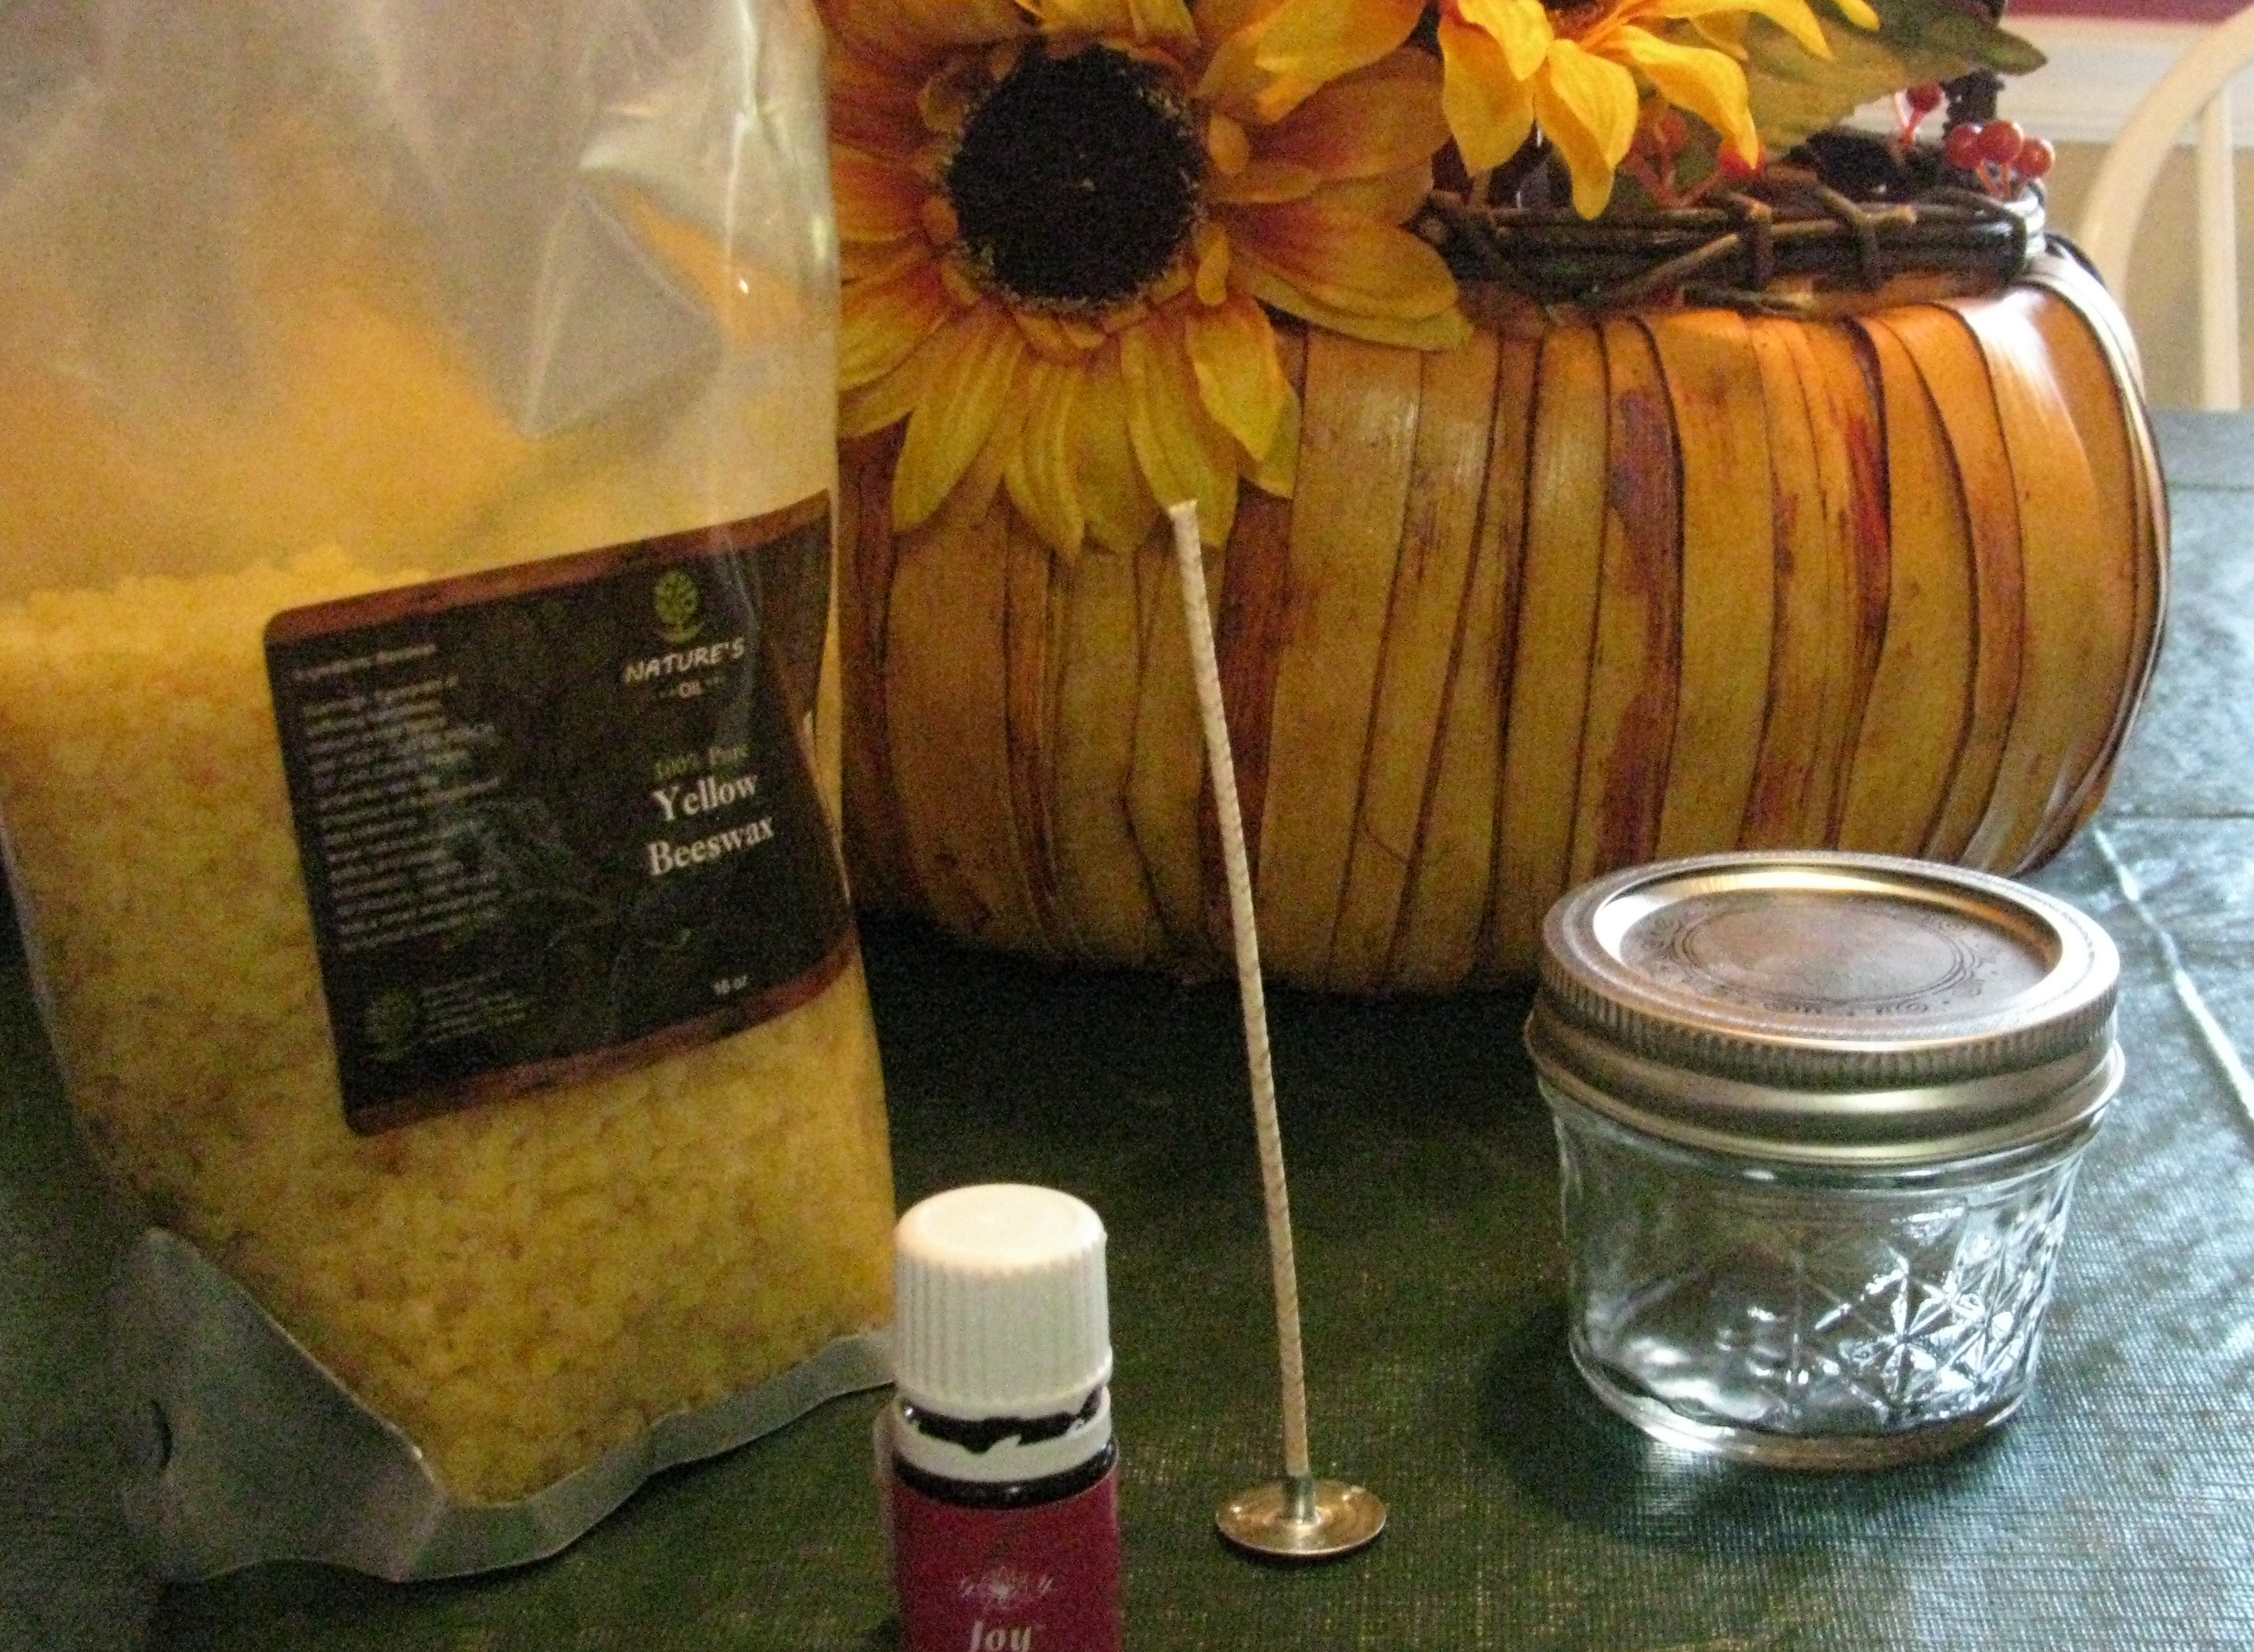
Materials: Wax, candle wick, candle container (I am using a 4 ox mason jar but you can use practically anything, teacups are really cute!), and essential oils (optional).
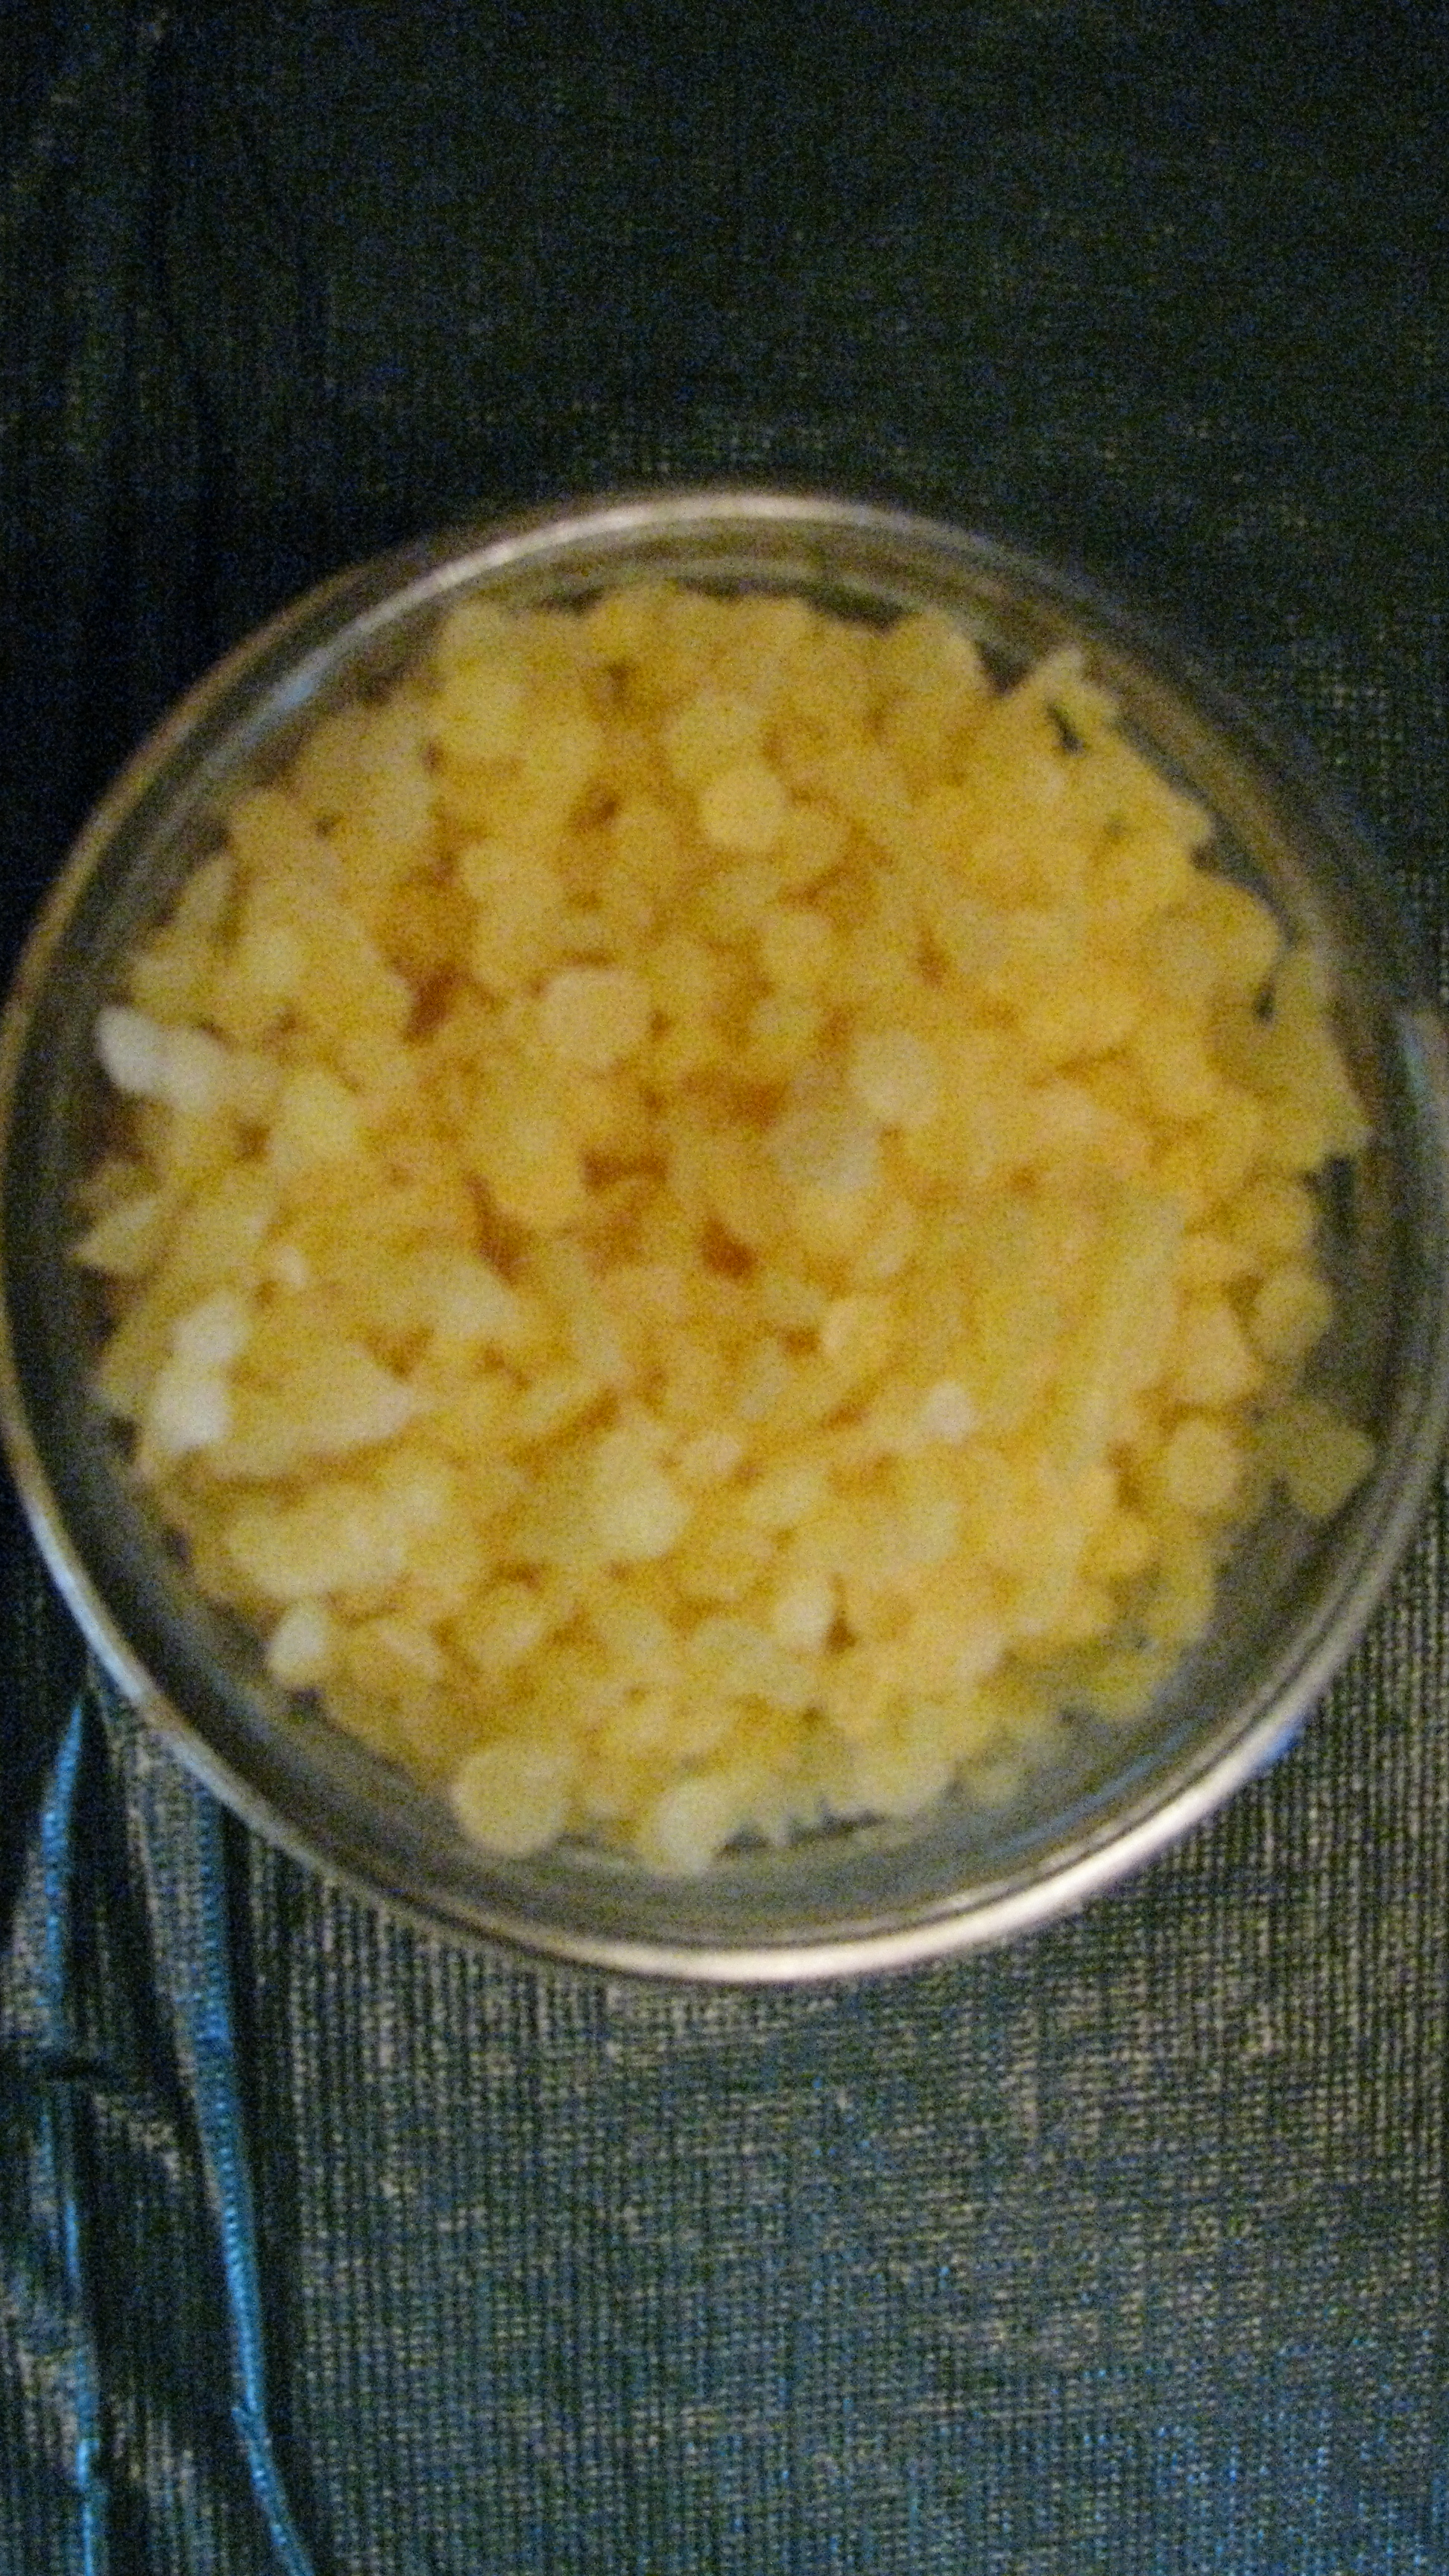
First get the wax you want to use. I uses beeswax pastilles because they are easier to work with than blocks of beeswax.
Why don’t I use soy wax? I choose not to use soy wax because…..1) it is a heavily processed wax 2)You cannot find organic non-GMO soy, and I do not support GMO’s in any way including buying wax made from GMO plants 3)Because beeswax smells great all on its own and it cleans the air in your home by releasing negative ions!
So take whatever container your are using for your candle and fill it up with beeswax and then double that amount. For most containers this should give you just the right amount of melted beeswax because when it melts you lose all the air pockets that are present in its pastille form. If you want to be super fancy you can whip out a kitchen scale and weigh out the amount of wax you need. This is a 4 oz. jar so I would need at least 3 oz of wax but you can probably fit in 3.5 oz easy!
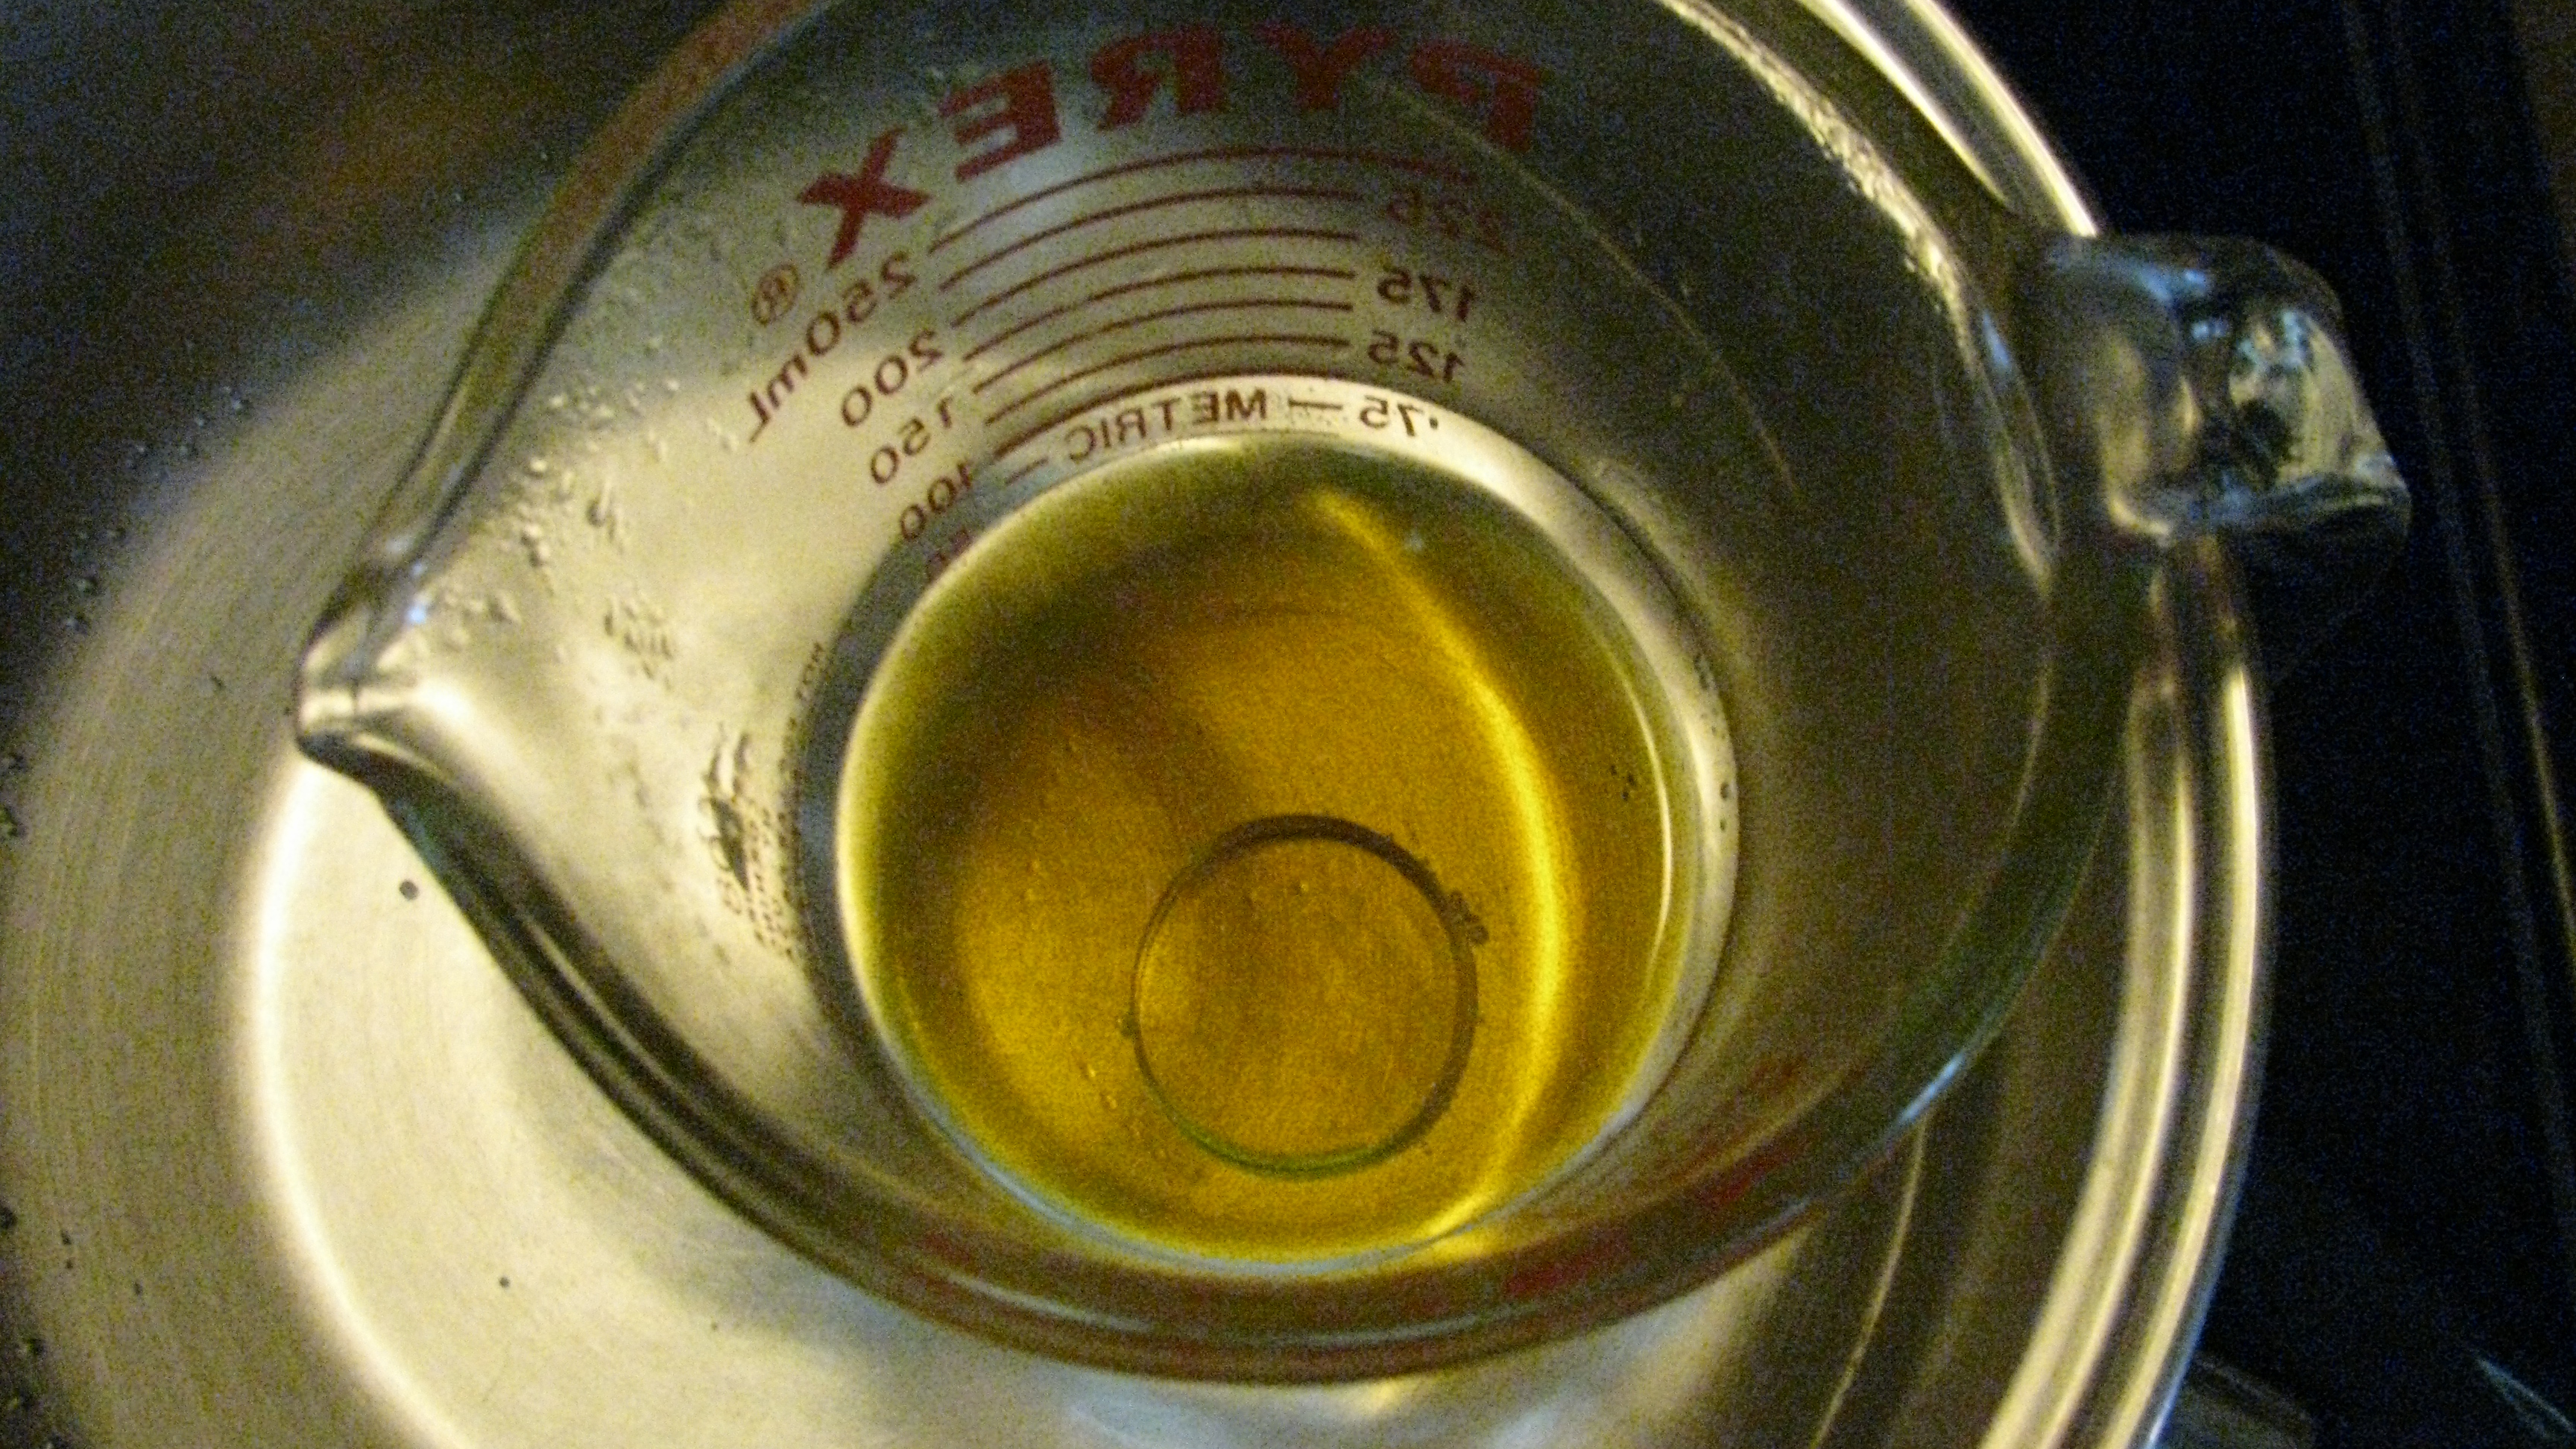
Put your beeswax into a measuring cup and place inside of a pot of water with the handle hooked over the side like so.
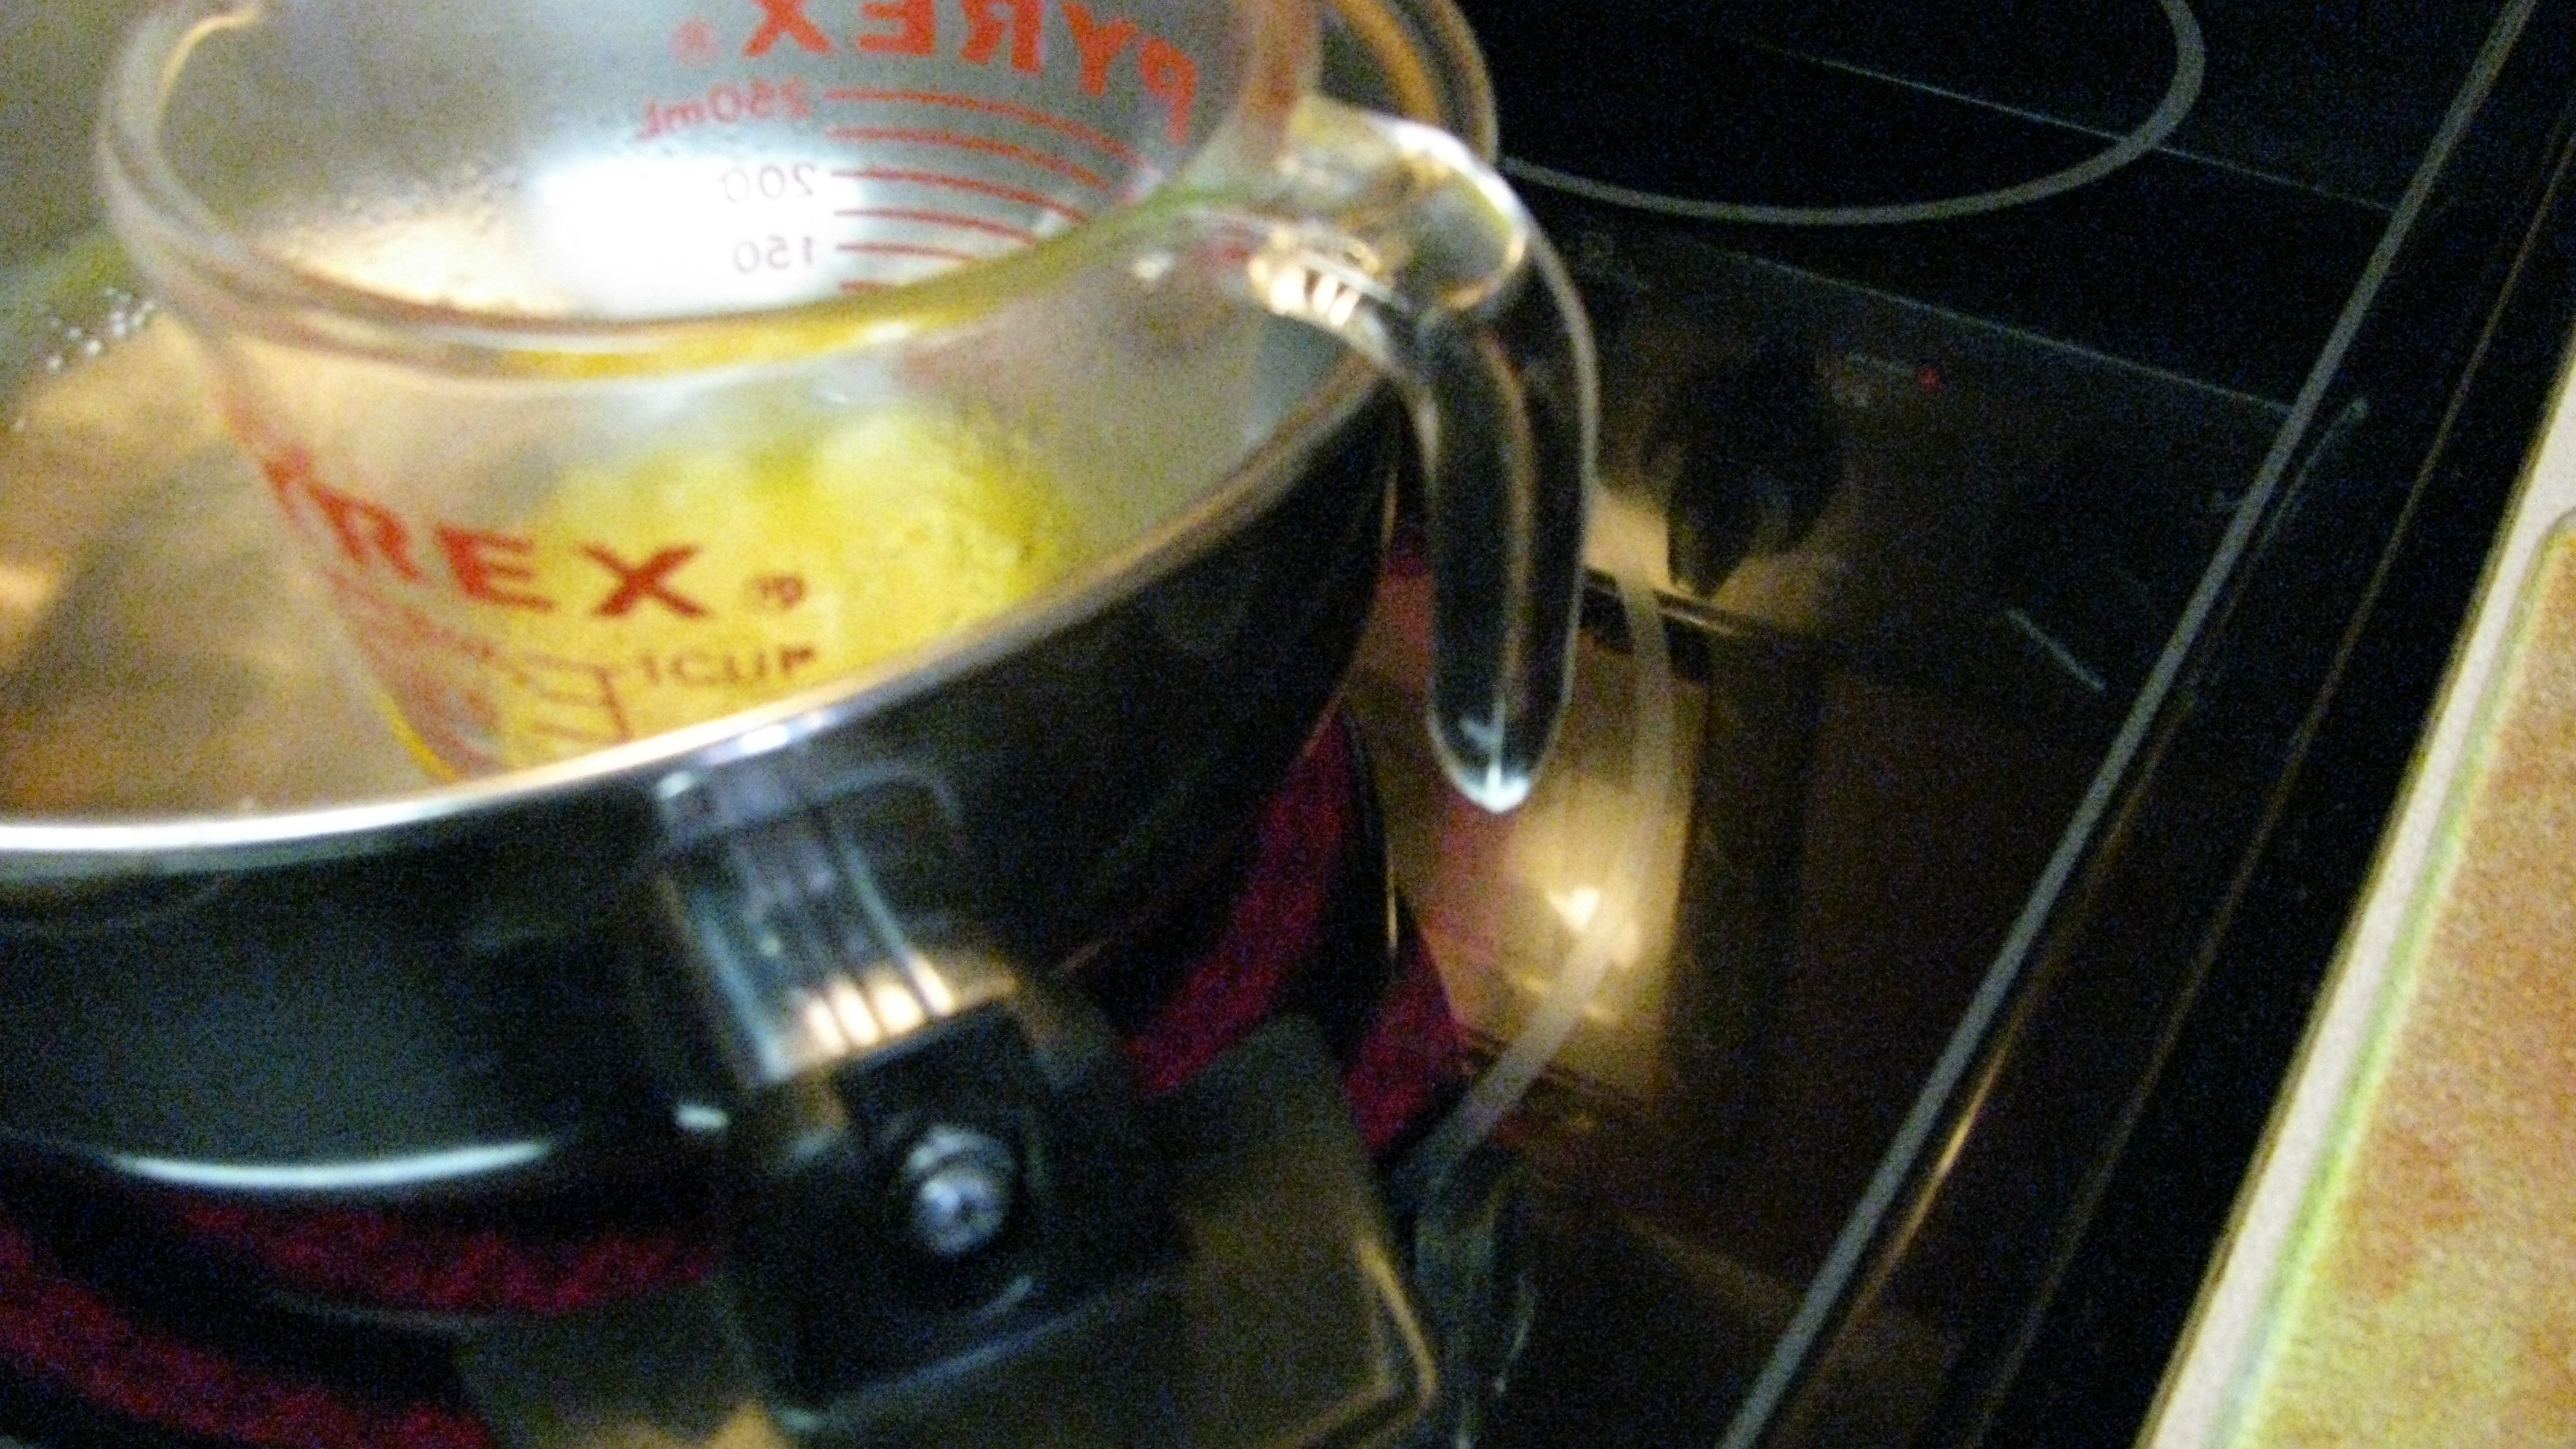
You can make a double boiler out of a glass bowl and your pot if you want but I find that using a measuring cup makes pouring the wax into my mason jar a little easier.
Now turn your heat on medium and let the waiting game begin!
Waiting….
Waiting….
Waiting….
Waiting….
Waiting….
Waiting….
Waiting….
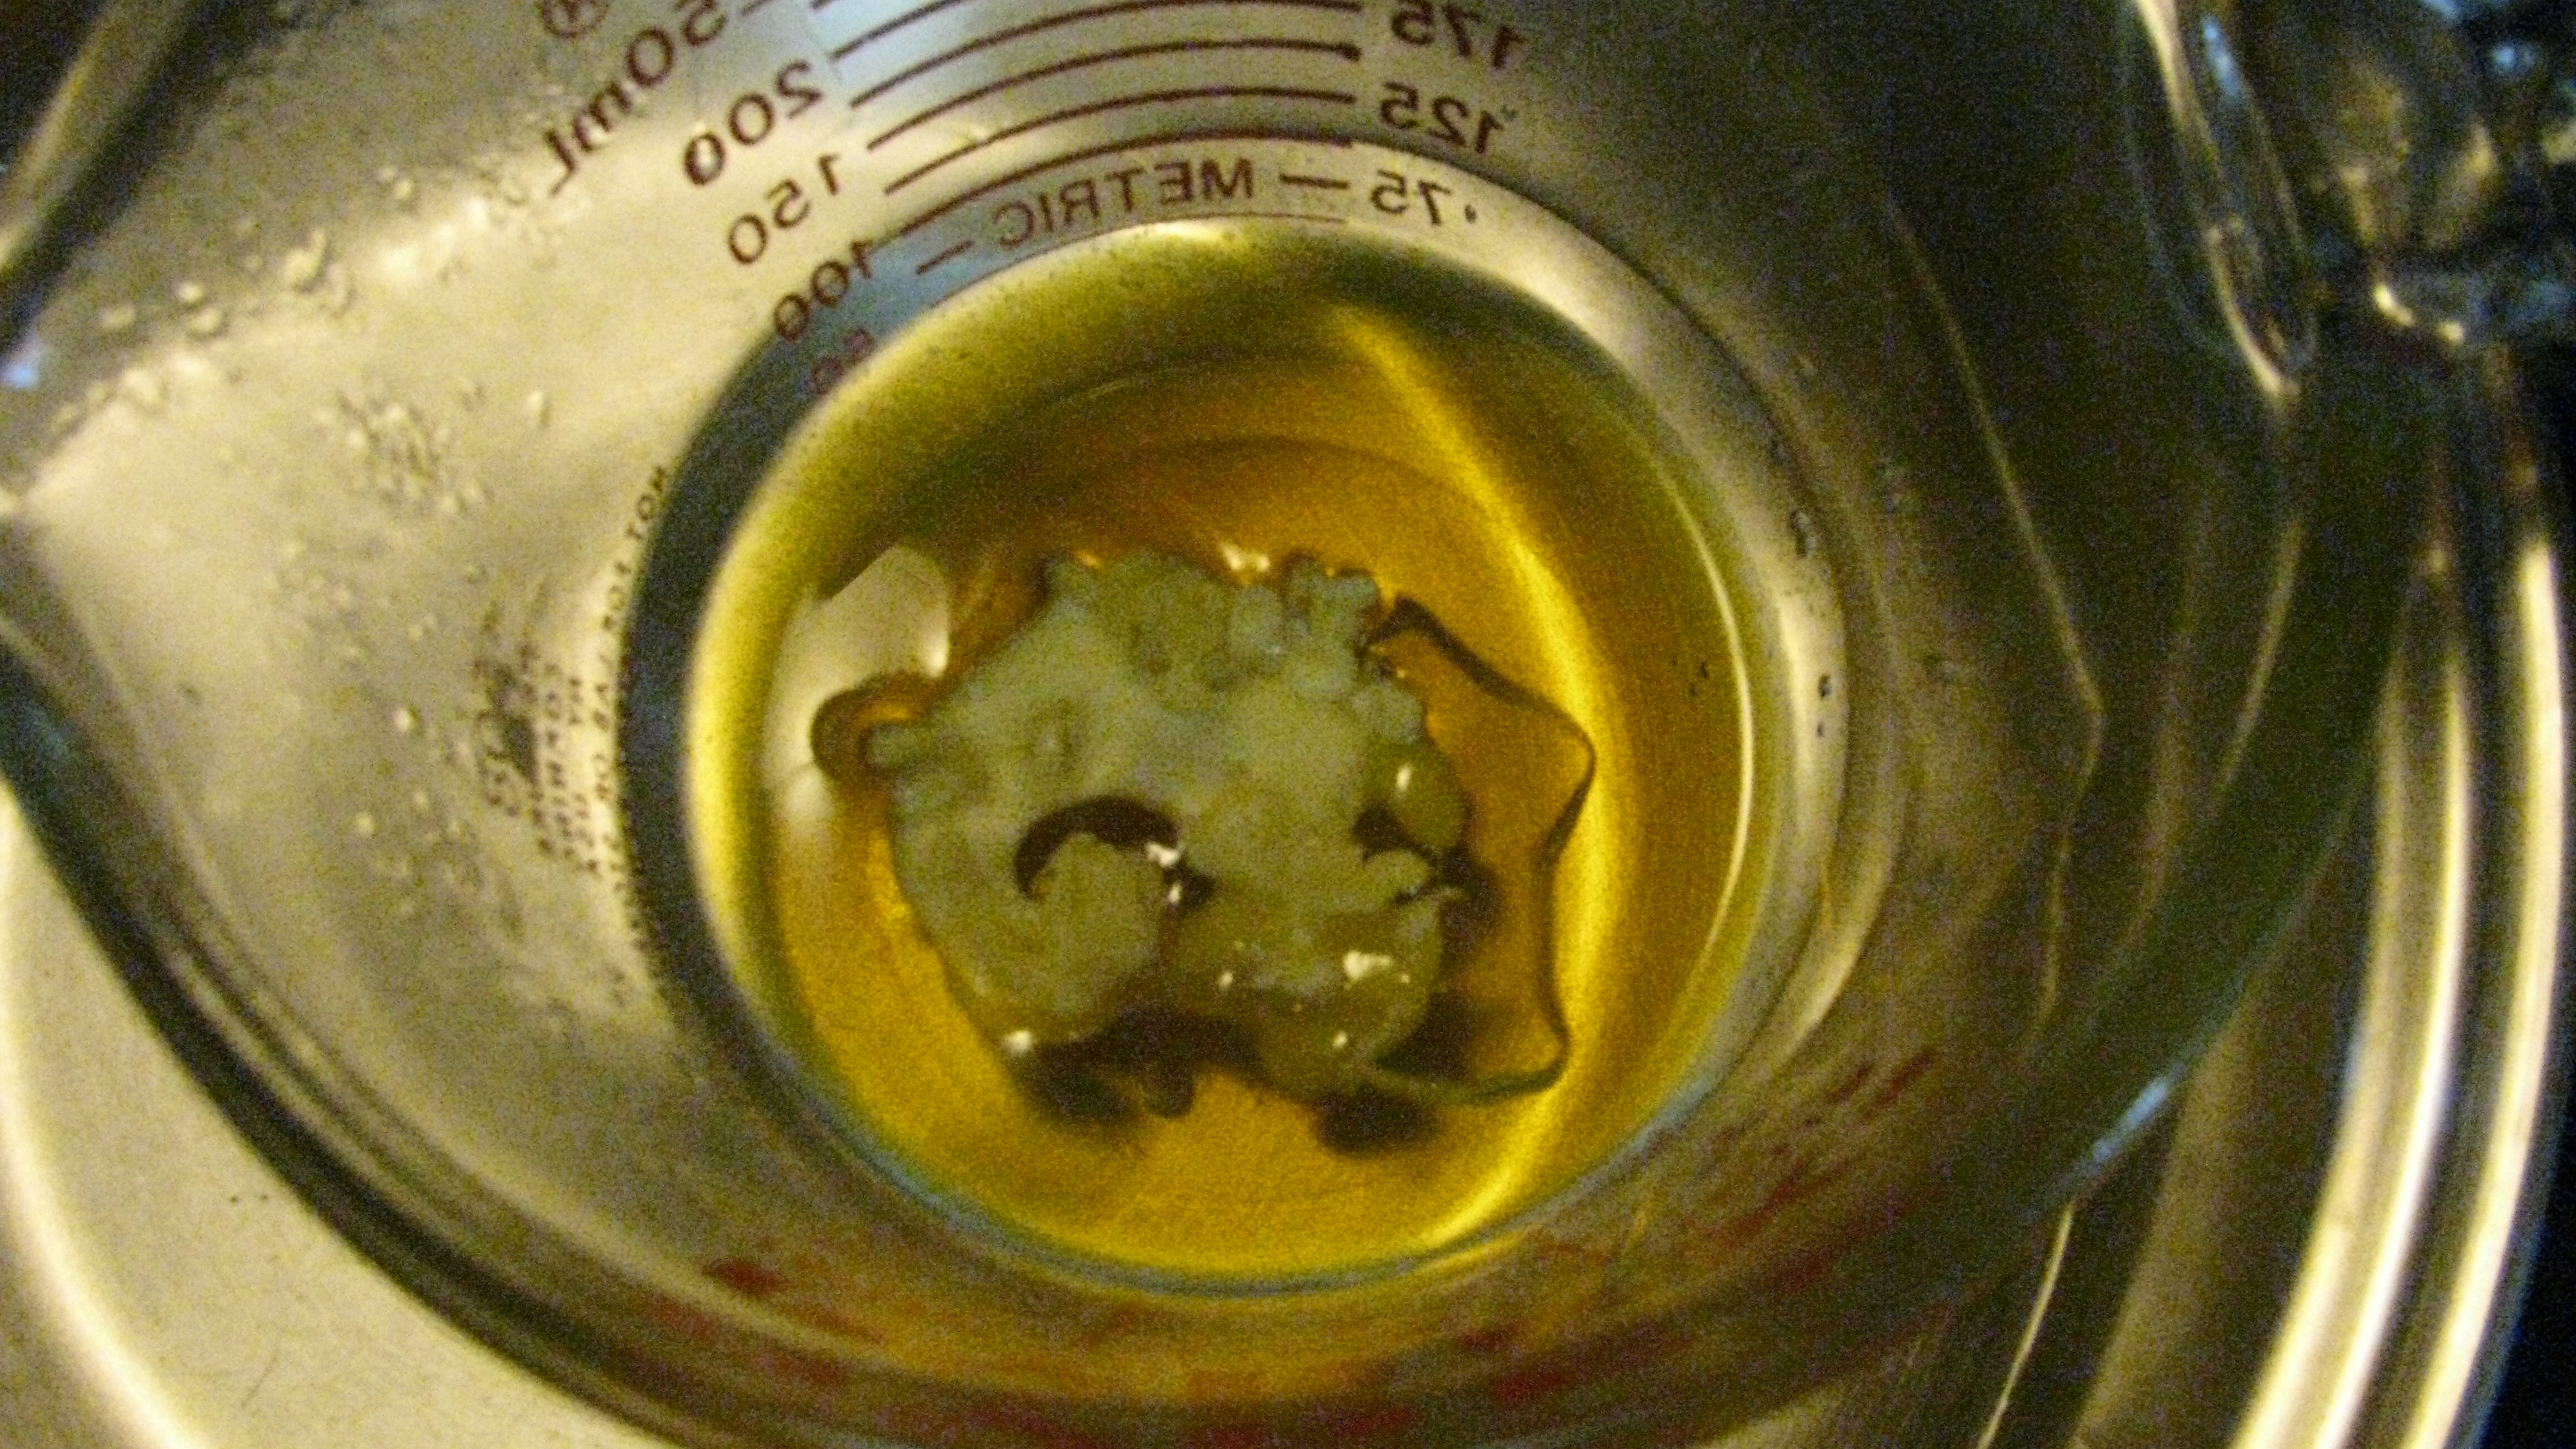
Waiting……..and check…..almost there!
Waiting….
Waiting….
Waiting….
Waiting….and check again….done!
Now take your measuring cup full of melted wax out and go set it down. Be sure and use a kitchen rag or pot holder because the glass is HOT!
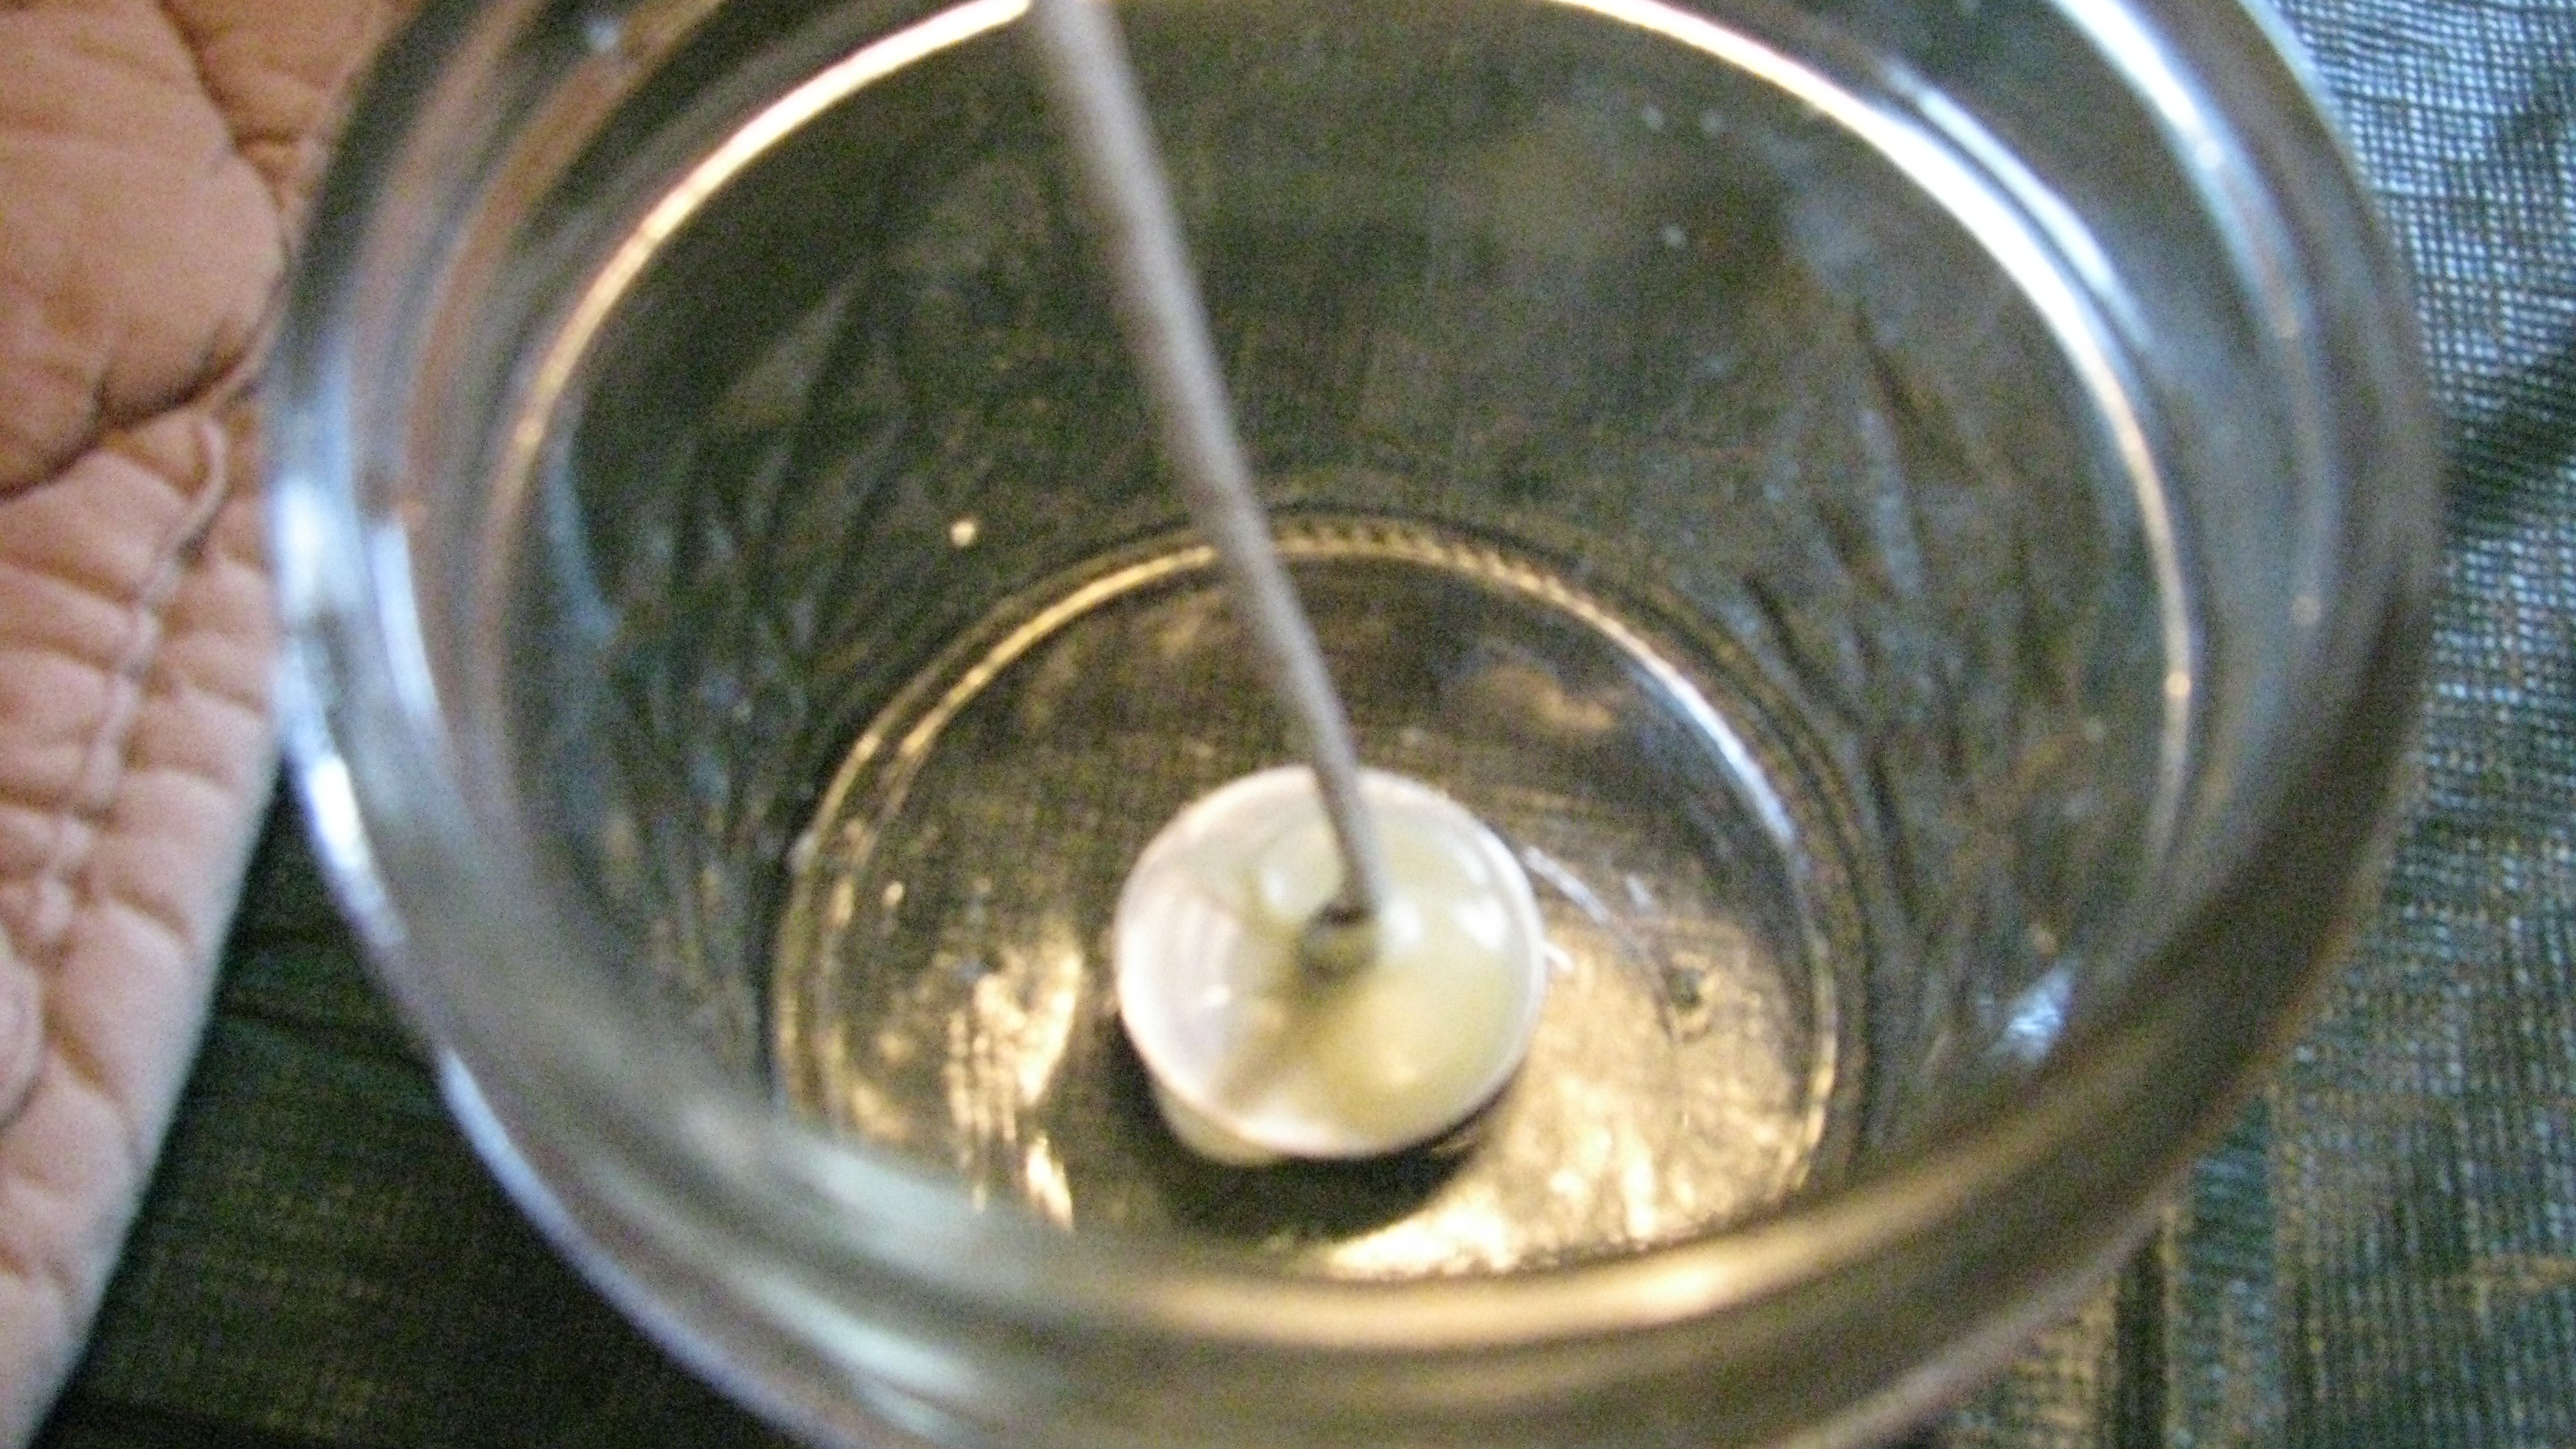
It’s time to assemble your candle! First take your wick (I use 100% cotton wicks, make sure that your wick is made for the diameter of your candle) and dip the base of it it in the wax let cool for a few seconds and repeat 3-5 times until you have a thin layer of wax built up.

Dip your wick in the wax one more time and place in the bottom of you jar. This helps keep the wick in place while the candle is cooling.
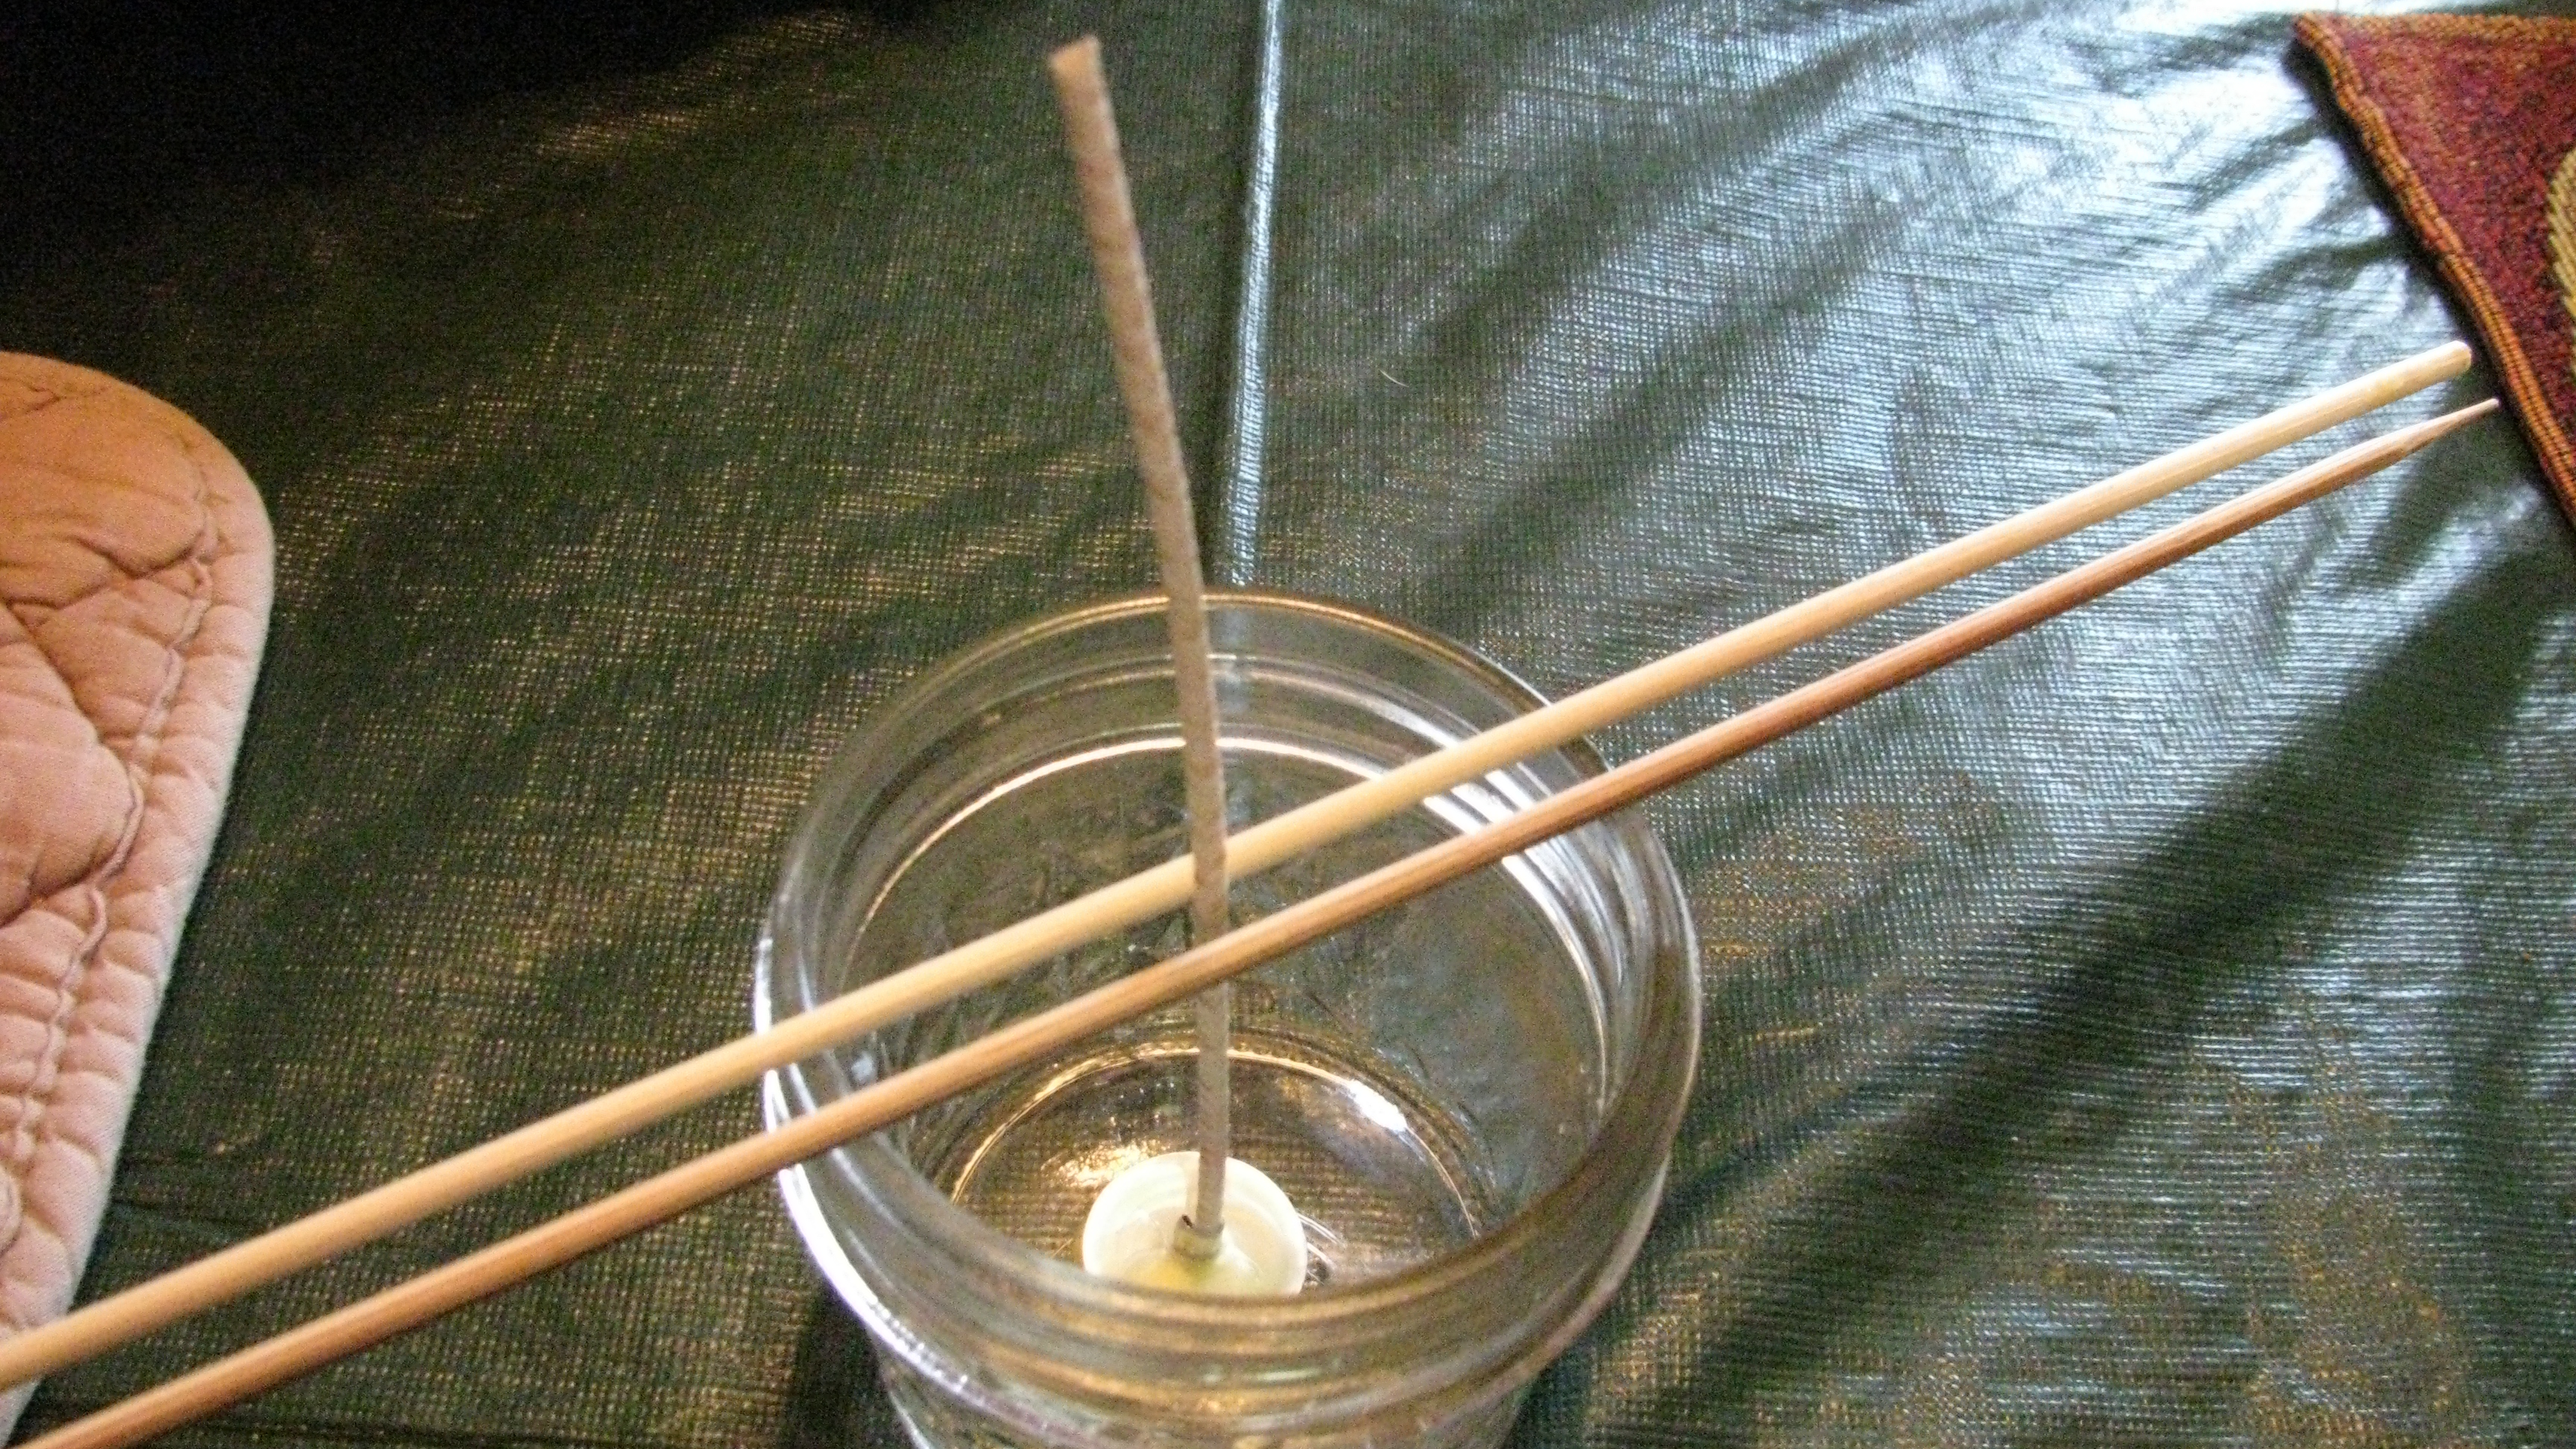
Then place skewers on either side of the wick to help it stay upright while the wax is cooling.
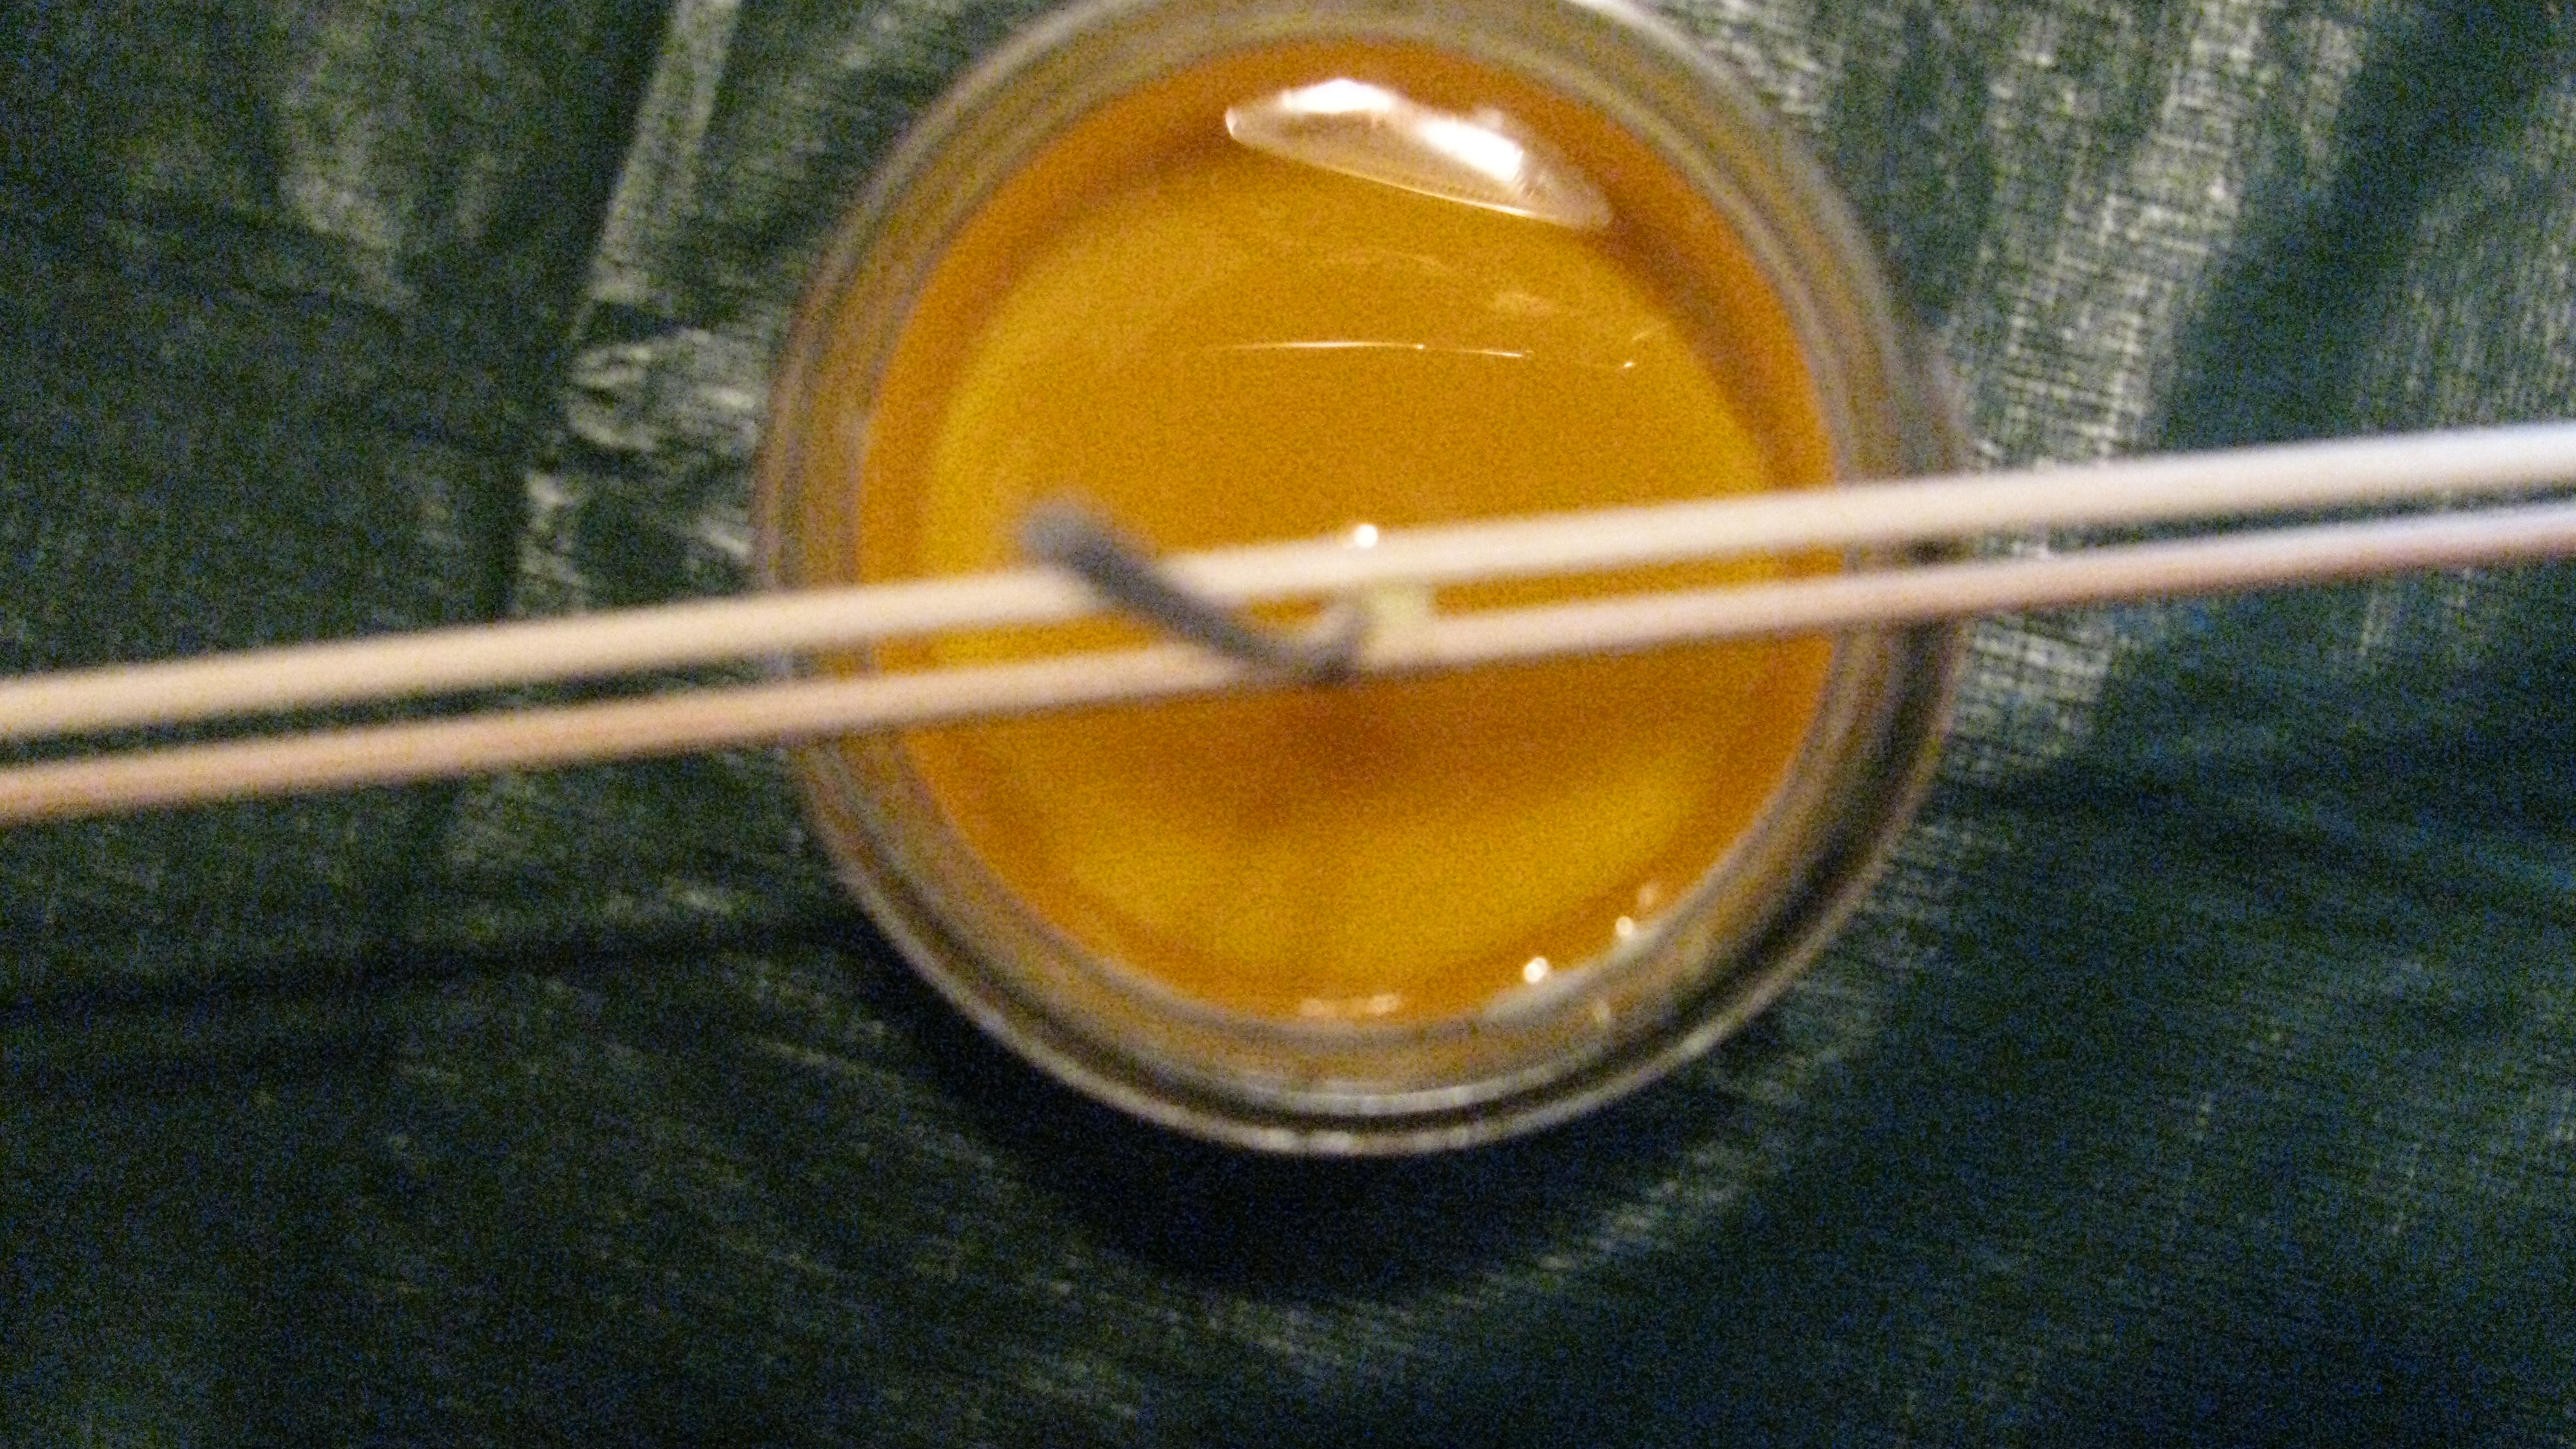
Now its time to add the beeswax. First if you are planning to add any essential oils to your candle go ahead and add those in. I added about 25 drops to this candle and it is lightly scented (you may need to add more or less depending on the EO). For a pound of wax I usually use 1 teaspoon or 5 ml of essential oil, but for some oils you might need up to an ounce to get a strong scent.
I usually don’t scent my candles because I love the way beeswax smells all on its own but I am making this candle for my Mother in Law so I am adding Joy to it.
Let your candle harden for a few hours or overnight (best option) then trim the wick and you are ready to use, or give it as a great gift! Candle making is pretty easy, however, it’s not for everyone. So, if you find that you struggle a little with this, you can always look to sites like Little Miss Twiggie Twinkles and see what they have on offer instead! There is bound to be the perfect candle from somewhere.
I always make one small test candle first if I am going to be making a big batch of scented candles to make sure my essential oil is strong enough.
I use Young Living Essential Oils, you can find out more about them here and how to save 24% on all your oily purchases.

If you have any questions please leave them in the comments below and I will answer them for you!
Where do you get your wicks?
I get them from Bulk Apothecary: http://www.bulkapothecary.com/make-it/candle-making/candle-wicks.html
Comments are closed.